


Hi, friends!
One of our goals for this blog has always been education. When we started in photography four years ago, we knew nothing. Nada. Zip. Zilch. To be totally honest and real, we didn’t even know that the camera body and lens were two SEPARATE pieces! Now we know that they’re like cookie butter and ice cream or Mr. Carson and William Wallace: they’re okay on their own but really better together! The most high-tech camera we’d ever used was a Canon PowerShot that Amy’s parents got her for Christmas one year. Looking back on it, we probably chose it because of this epic Maria Sharapova tennis commercial (anyone remember this?!) and Amy’s parents probably purchased it because it was on sale at Costco. And let’s face it, when something’s on sale at Costco and you’re getting 2% cash back, it’s tough to say no. Does anyone else have a problem with getting out of Costco for under $100?! It’s like, we walk in the door and we all of a sudden need new patio furniture and a third blender. That Vitamix guy is an effective salesman!
Anyways, Costco and Maria Sharapova aside, we wouldn’t be where we are without other photographers who went first, who shared helpful tips and tricks on their blogs that we learned from. Yes, it can definitely be hard to keep up with blogging five days per week and putting out a separate educational newsletter called The Monday Minute (subscribe here!) on top of everything else we’ve got going on, but it’s worth it, because we’ve got a debt to pay to this industry that has given us so much and we intend to pay it! So… what’s today’s post all about?! Glad you asked! We realized that one of the best, easiest, and most effective ways to share with you is to share what’s happening in as close to real time as possible, so here’s a problem that we encountered on a recent shoot and how we solved it!
Not a Problem
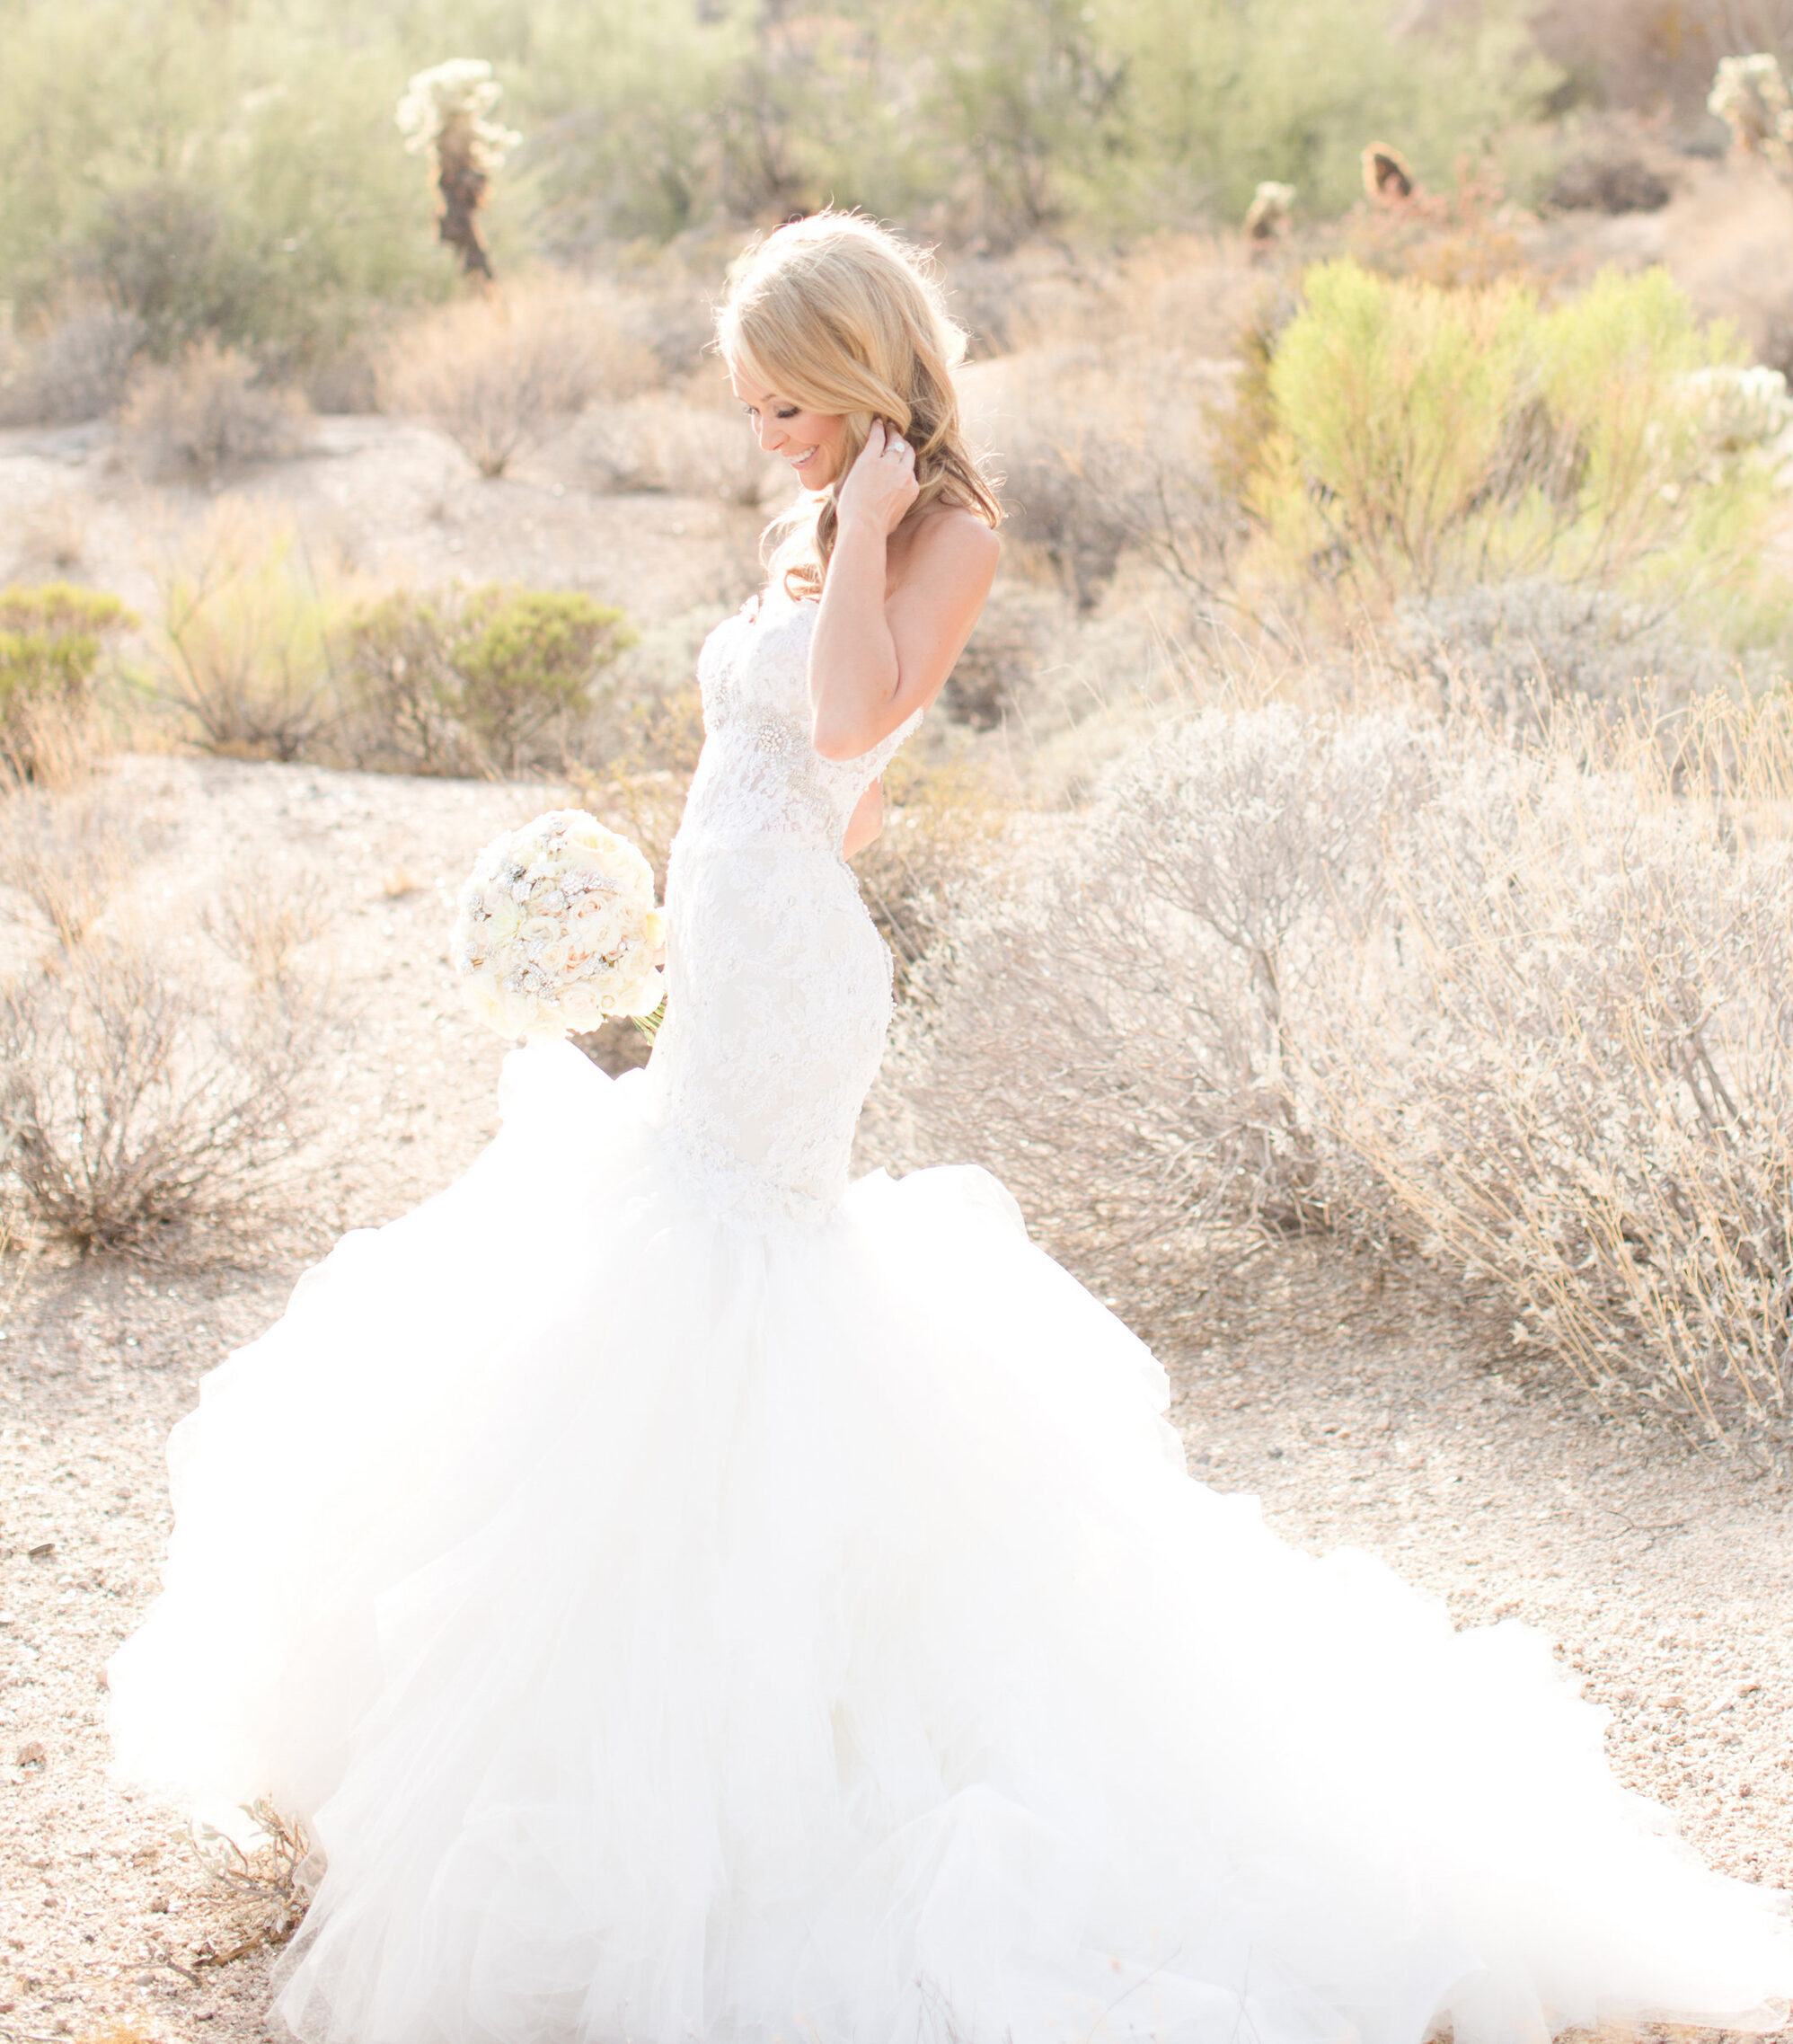
A few weeks ago, we were in Southern California for Glee’s Heather Morris’s wedding (that was printed in People Magazine this week!) and an engagement session with Michele and Jonathan in Redondo Beach. Michele and Jonathan are a stunning couple with impeccable taste in fashion. She started the session in a pink dress from H&M that complimented his coat and bowtie. We had some gorgeous light and architecture to work with in the first set (see below) and it all went well together.
You can see their full engagement session here!
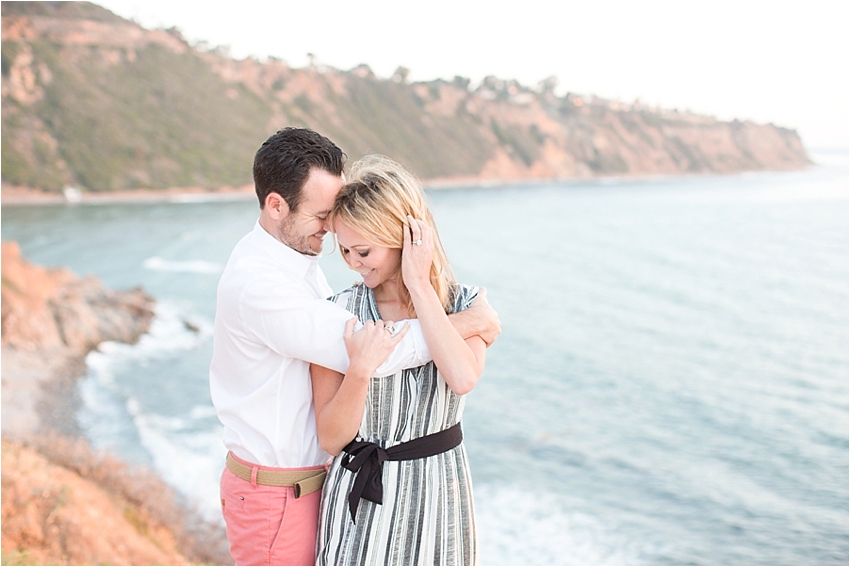
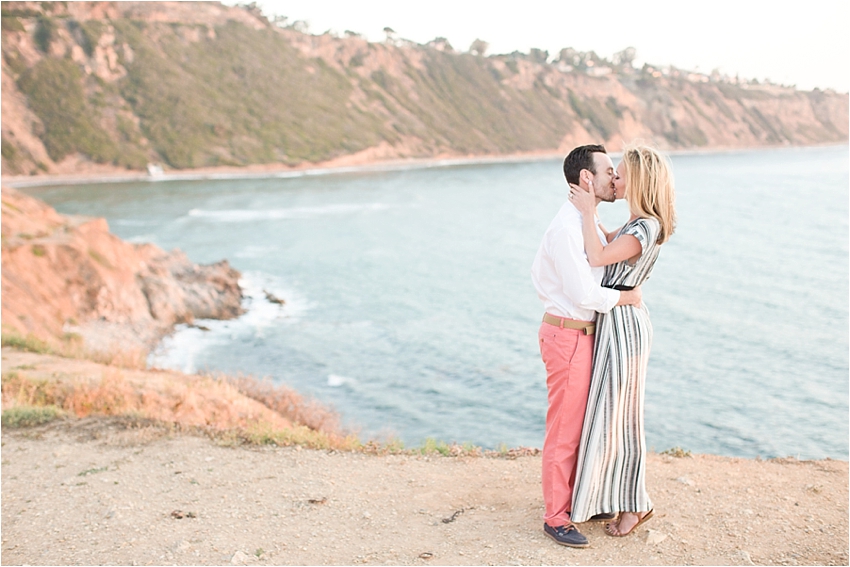
For the second set, we headed to the cliffs overlooking the Pacific Ocean. You guys, the setting was uh-mazing! Picturesque in every way. It was almost too good, though. It seemed fake, like a Hollywood backdrop or green screen. Again, they rocked out incredible outfits. Everything was set up for some of our favorite engagement photos ever. Until…
The Problem
The sun was about fifteen minutes from setting below the horizon, so it was giving off a gorgeous, glowing, warm light. Our favorite! It was hitting the rocks just right, just enough light so that the background wasn’t too dark or too light. Problem: we were shooting from north to south and the sunset was coming from the west, which meant that orange-tinted light was also hitting Michele and Jonathan’s faces. NOT a flattering look! Also, we didn’t get a picture of that harsh light hitting their faces for you guys to see! We should’ve, though! Next time!
A Few Options
At that point, we had a few options. We could shoot pulled back or face them toward each other or away so you wouldn’t really see their faces, or we could figure out a way to get even light on their faces and still get that backdrop that we wanted. That’s always our preference — even though we like pulled back shots and shots where our clients are facing each other or away — because we want to see their faces because that’s what they want to see! And since we believe that skin tones (that autocorrected to skinniness the first time we typed it, not sure what that was about!) are the most important element of a people-centered photograph, that’s always out primary objective. So… what did we do?
The Solution
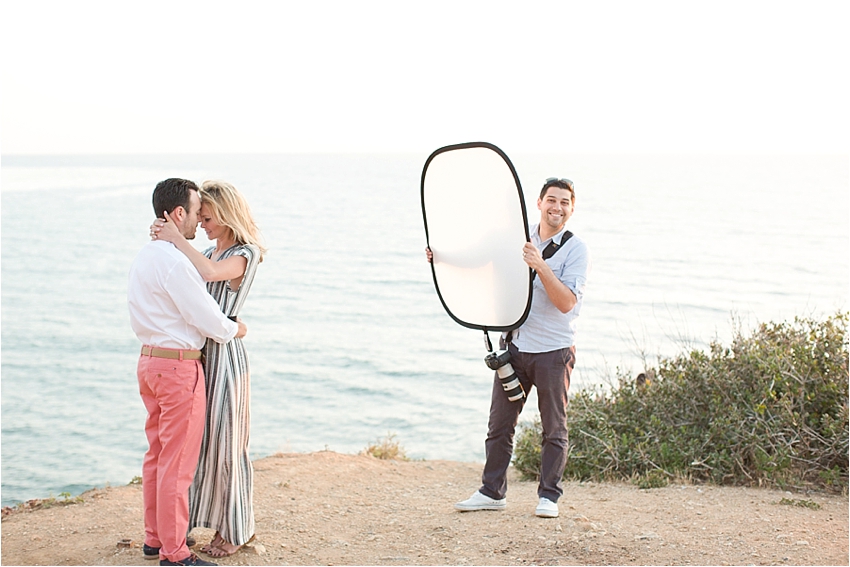
We definitely have an advantage as a husband-wife team, because there are two of us. So, we can either both shoot, or one of us can shoot and the other can assist, and the person who shoots or assists changes depending on the situation. In this case, Amy was in a rhythm and feeling g-o-o-d about her posing and composition, and the wind was gusting in such powerful bursts, that we were afraid she would blow off the side of the cliff or fly away like Mary Poppins if she got too close to the edge!
Okay, so we needed a way to diffuse (soften and even) the light on their faces. But how? The answer: our Westcott 6-in-1 diffuser and reflector kit. We take in on every shoot we do — including weddings — because it gives us the ability to manipulate natural light.
Click here to read about how we use it on cloudy days to get more light into our subjects’ faces.
Since the sun was coming from the west, Jordan stood next to our clients and held up the reflector, watching their faces the entire time. Once the harsh, orange light on their faces was shaded by the diffuser, he then moved it as low as possible so that a) their faces were shaded, b) their hair was still getting lit (if possible), and c) as much of their bodies was also getting shaded as possible, so it looked natural. If just their faces were shaded but their bodies were lit up, it’d be a giveaway that the light was 100% natural, which is always our goal.
So… if you’ve found yourself in a situation lately where you really wanted to shoot in a location but couldn’t because the light wasn’t quite right, try this next time and see if it helps!
Have a Question You Want Answered?
Send an email to info[at]amyandjordan.com with your question and we’ll do our best to answer it in an upcoming blog post!
p.s. Here’s MORE Free Content!
If you liked this post, you might also like our Dear A&J series:
1. The Best Place to Invest
2. How to Choose a Session Location
3. How to Find Great Light
4. How to Blog to an Invisible Audience
5. How to Take Sharp Family Portraits
6. What Lens Should I Buy Next?


")
")

