
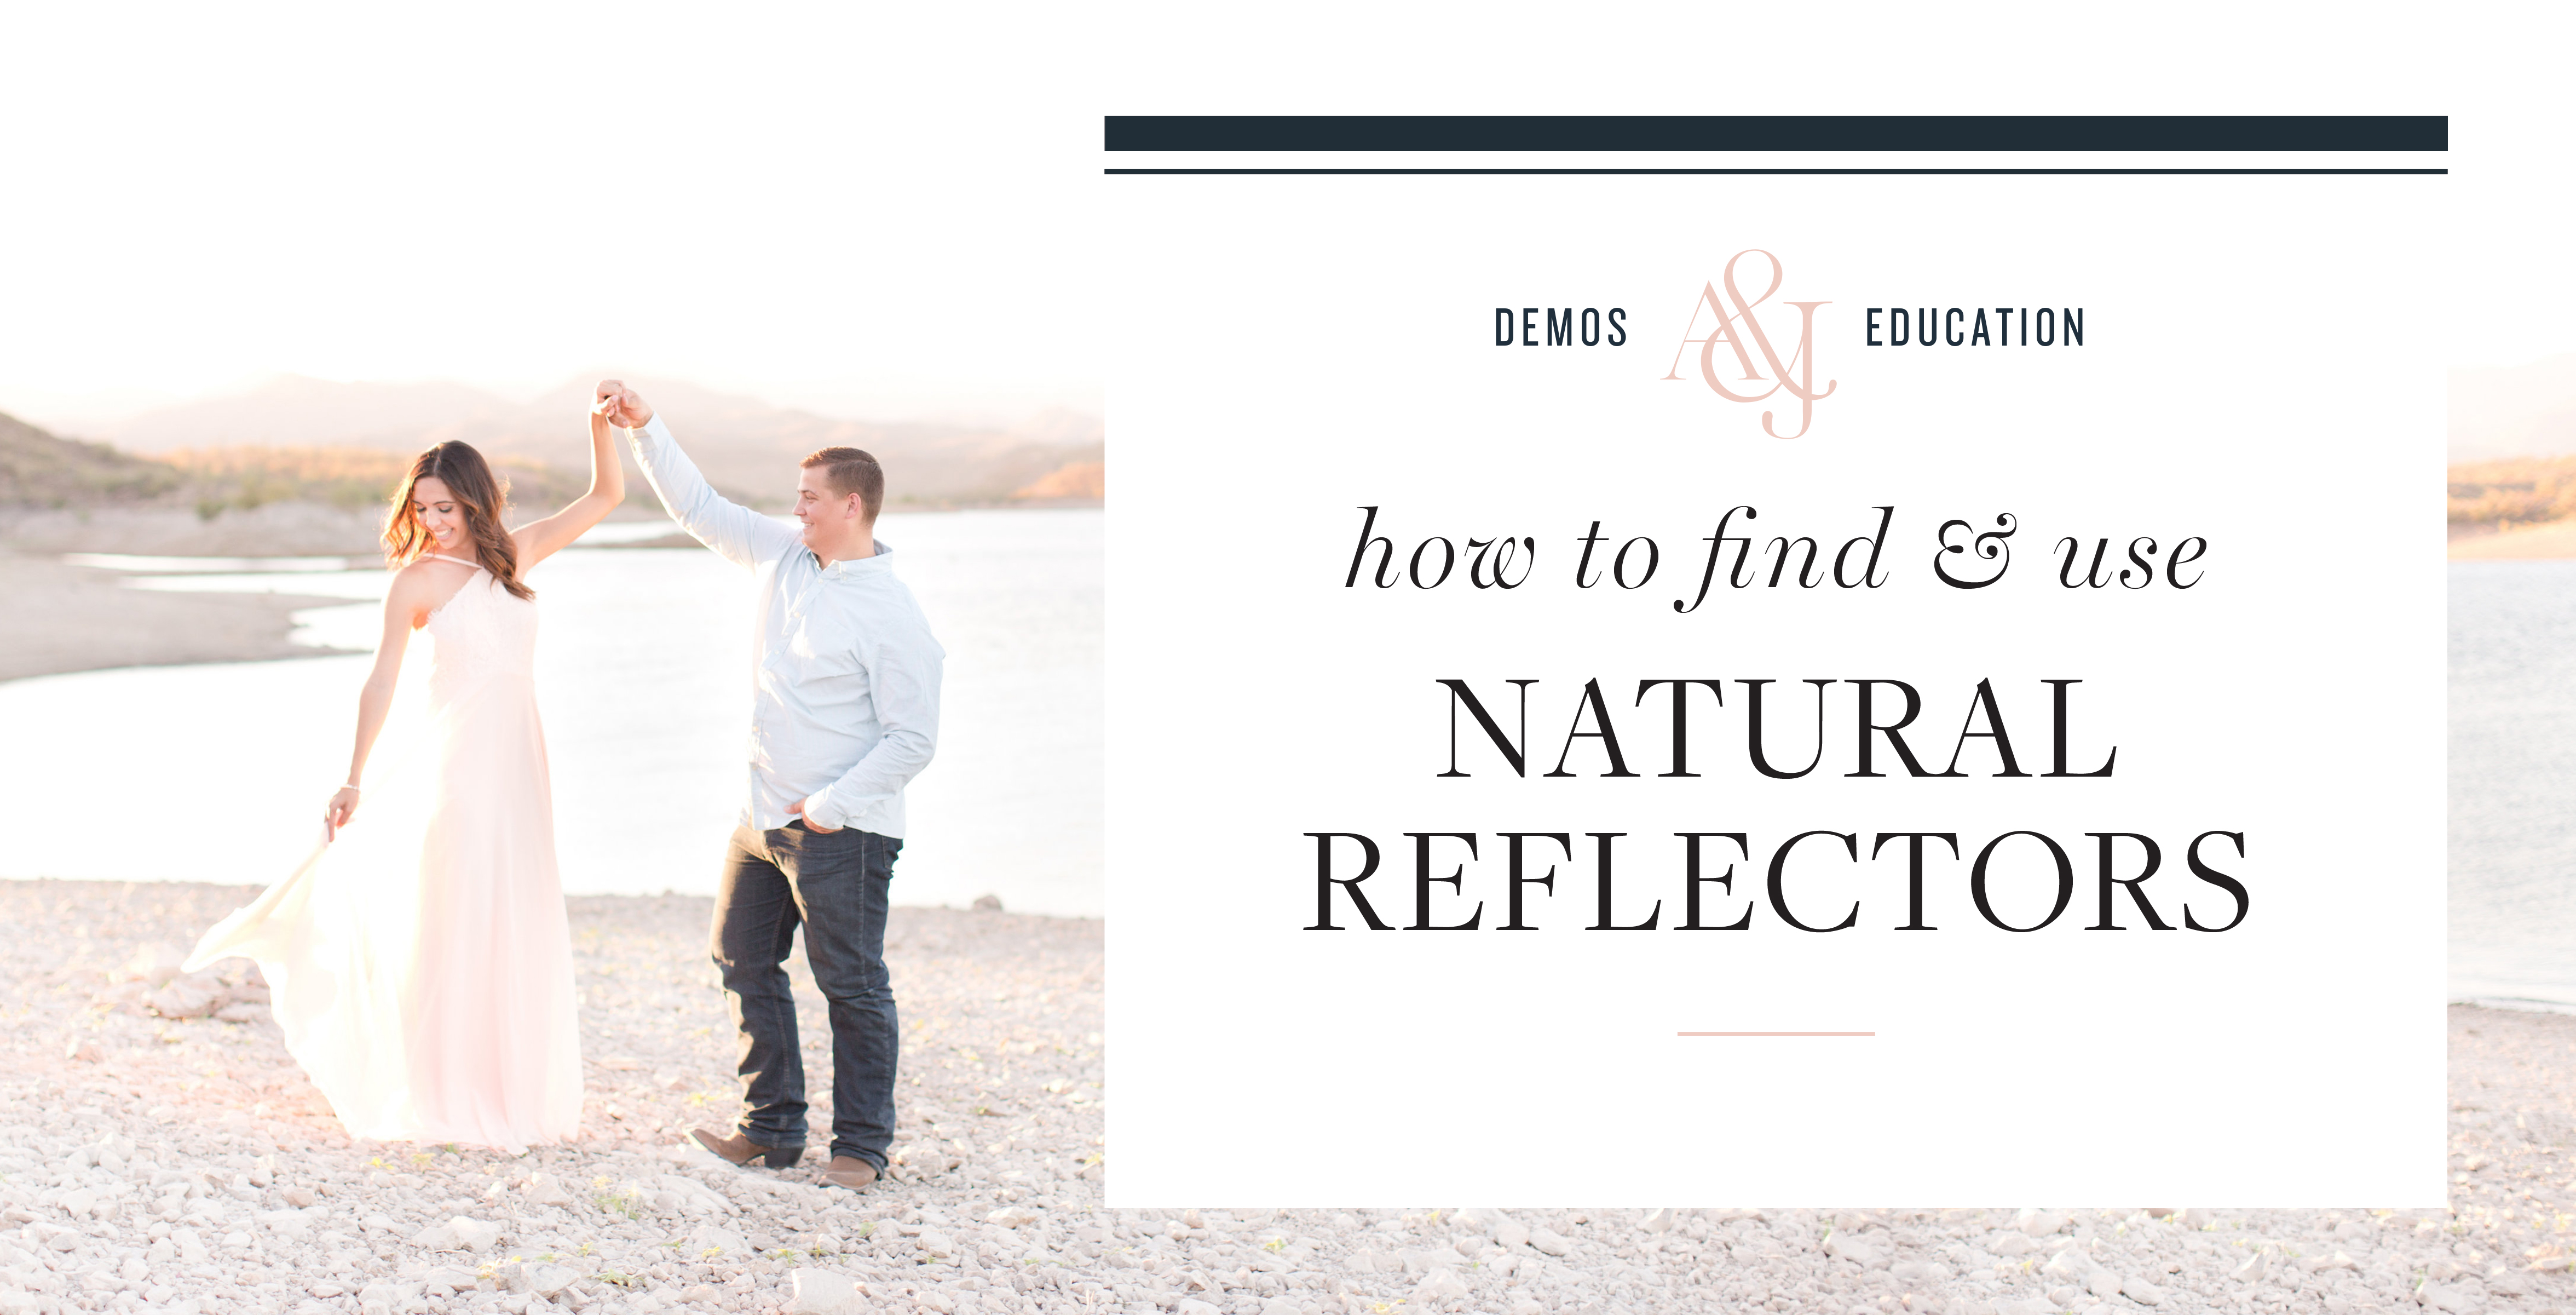


How do I find natural light? How do I use it once I’ve found it? In this series, we help break down both so YOU can be a better, more confident photographer! If you’re new to this series, you can catch up here:
Before we dive into how to find and use natural reflectors, let’s define what we mean.
Natural
Anything you find on shoot that you didn’t bring with you.
+
Reflectors
Objects that reflect or bounce light from the sun onto your subject.
=
Natural Reflectors
Anything you find on a shoot that you didn’t bring with you that reflects or bounces light from the sun onto your subject.
Why do natural reflectors matter?
Everything in the world reflects sunlight back into our faces, so, as photographers, we always have to be aware of the color and intensity of that light; and since our cameras are much more sensitive to light and colors than our naked eyes, we need to be extra aware of our surroundings and their impact on our clients.
Good Natural Reflectors
Good natural reflectors can act like a natural retouching tool by softening skin, evening out imperfections, reducing bags under eyes, brightening images, and enhancing natural colors.
1. White Walls
This is the first natural reflector we look for because it’s the most obvious. The bigger the wall is, the larger and more evenly distributed the bounce of light will be. The whiter it is, the more neutral and flattering the light will appear on your subject. It basically acts like a hand-held reflector, but giant-sized, which makes for some stellar images.
2. Sidewalks/Pavement
Sometimes, a white wall isn’t available, but sidewalks usually are. If you can find a light-colored sidewalk or pavement that’s lit and not too dark or shadowy, the light will redirect from the ground into your subjects and help brighten the images and fill their faces with more flattering light. If you can position your subjects with a hot spot in front of their feet, the light will redirect more strongly; but, even when the sunlight isn’t hitting the ground in front of them directly, it will still bounce, and be more effective at bouncing good light than shaded ground.
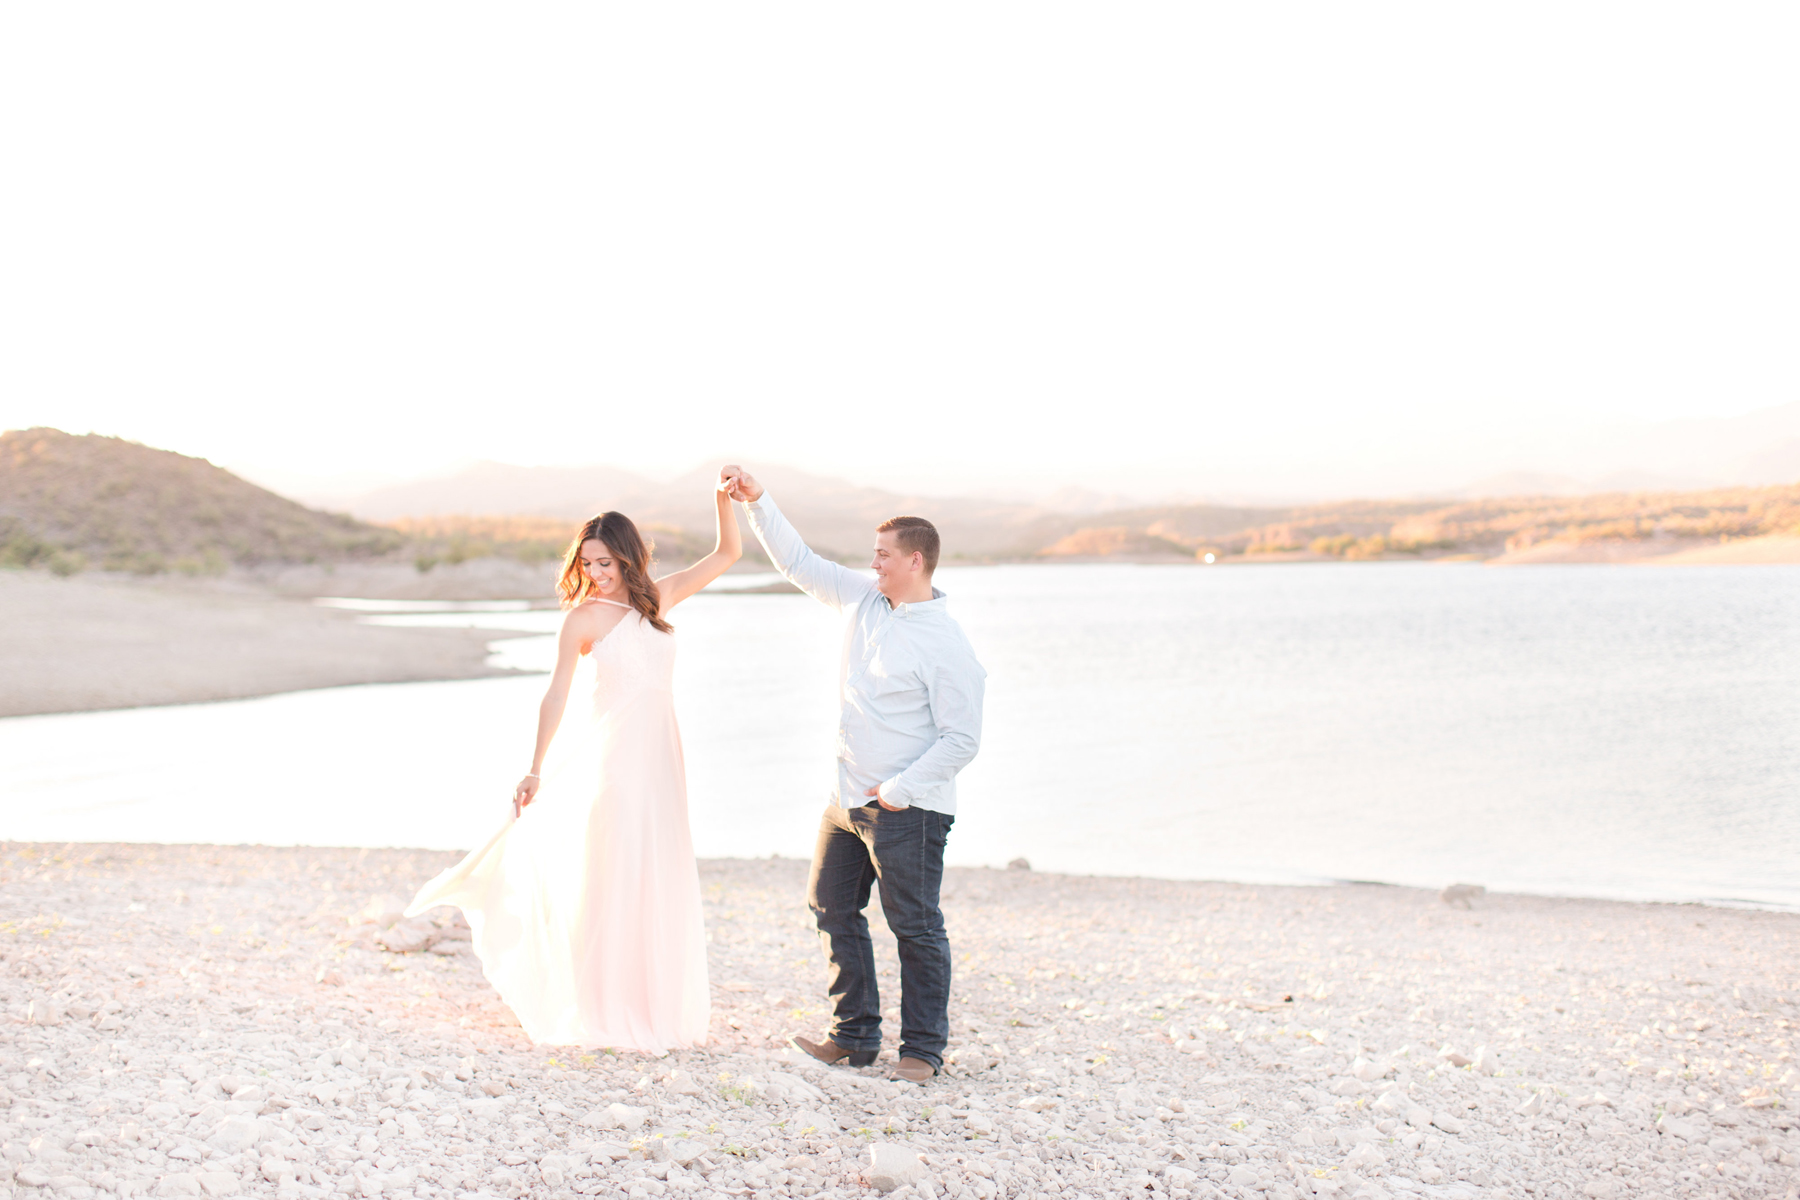
3. Light-Colored Gravel
We’ve even noticed a difference between light-colored gravel and dark-colored gravel. If you don’t have a white building or any accessible sidewalks or pavement, light-colored gravel is your best bet. When we visited Sedona recently, we noticed a huge difference shooting in the outdoors when we used certain dirt paths that were better lit versus dirt paths with shadows on them.
4. White Fabric
We’re talking anything you can find! Pillows, tablecloths, sheets, really anything you can find to manipulate when you are in a bind. If you find yourself stuck in a dark, dingy bridal room without much access to natural light on a wedding day, grab a hotel pillow to pop some light into your detail shots. It’s a ghetto fabulous reflector on the go!
Bad Natural Reflectors
Be on the lookout for anything that’s large and has a dominant color, and be sure to face your clients away from them. Strong colors reflect strong light, and the last thing you want is a red or green tint to your photos. Whenever you see an orange wall, stay clear! It’ll take too much time in post-processing to flush the color out, and you’ll still never really get the perfect color that you want. Always be aware of the colors that surrounding buildings are casting to make sure your clients’ skin tones stay looking fresh and vibrant.
Next week, we’ll talk about the other kind of reflectors, the ones we brings to portrait sessions and on wedding days, to get the most flattering light on our clients’ faces and spend less time in post-processing! Have a great week, guys! Let’s keep making each other better!
_
We’re so proud of our shooting and editing course students all across the world! They’re shooting better, editing faster and serving their clients better than ever before!
Looking for more resources?


")
")

