


Happy Wednesday, friends!
If you’re shooting a wedding reception with uplighting any time soon, read this before you do! Today, we’re sharing a tip for how to photograph wedding reception uplighting to tell a better color story for your client.
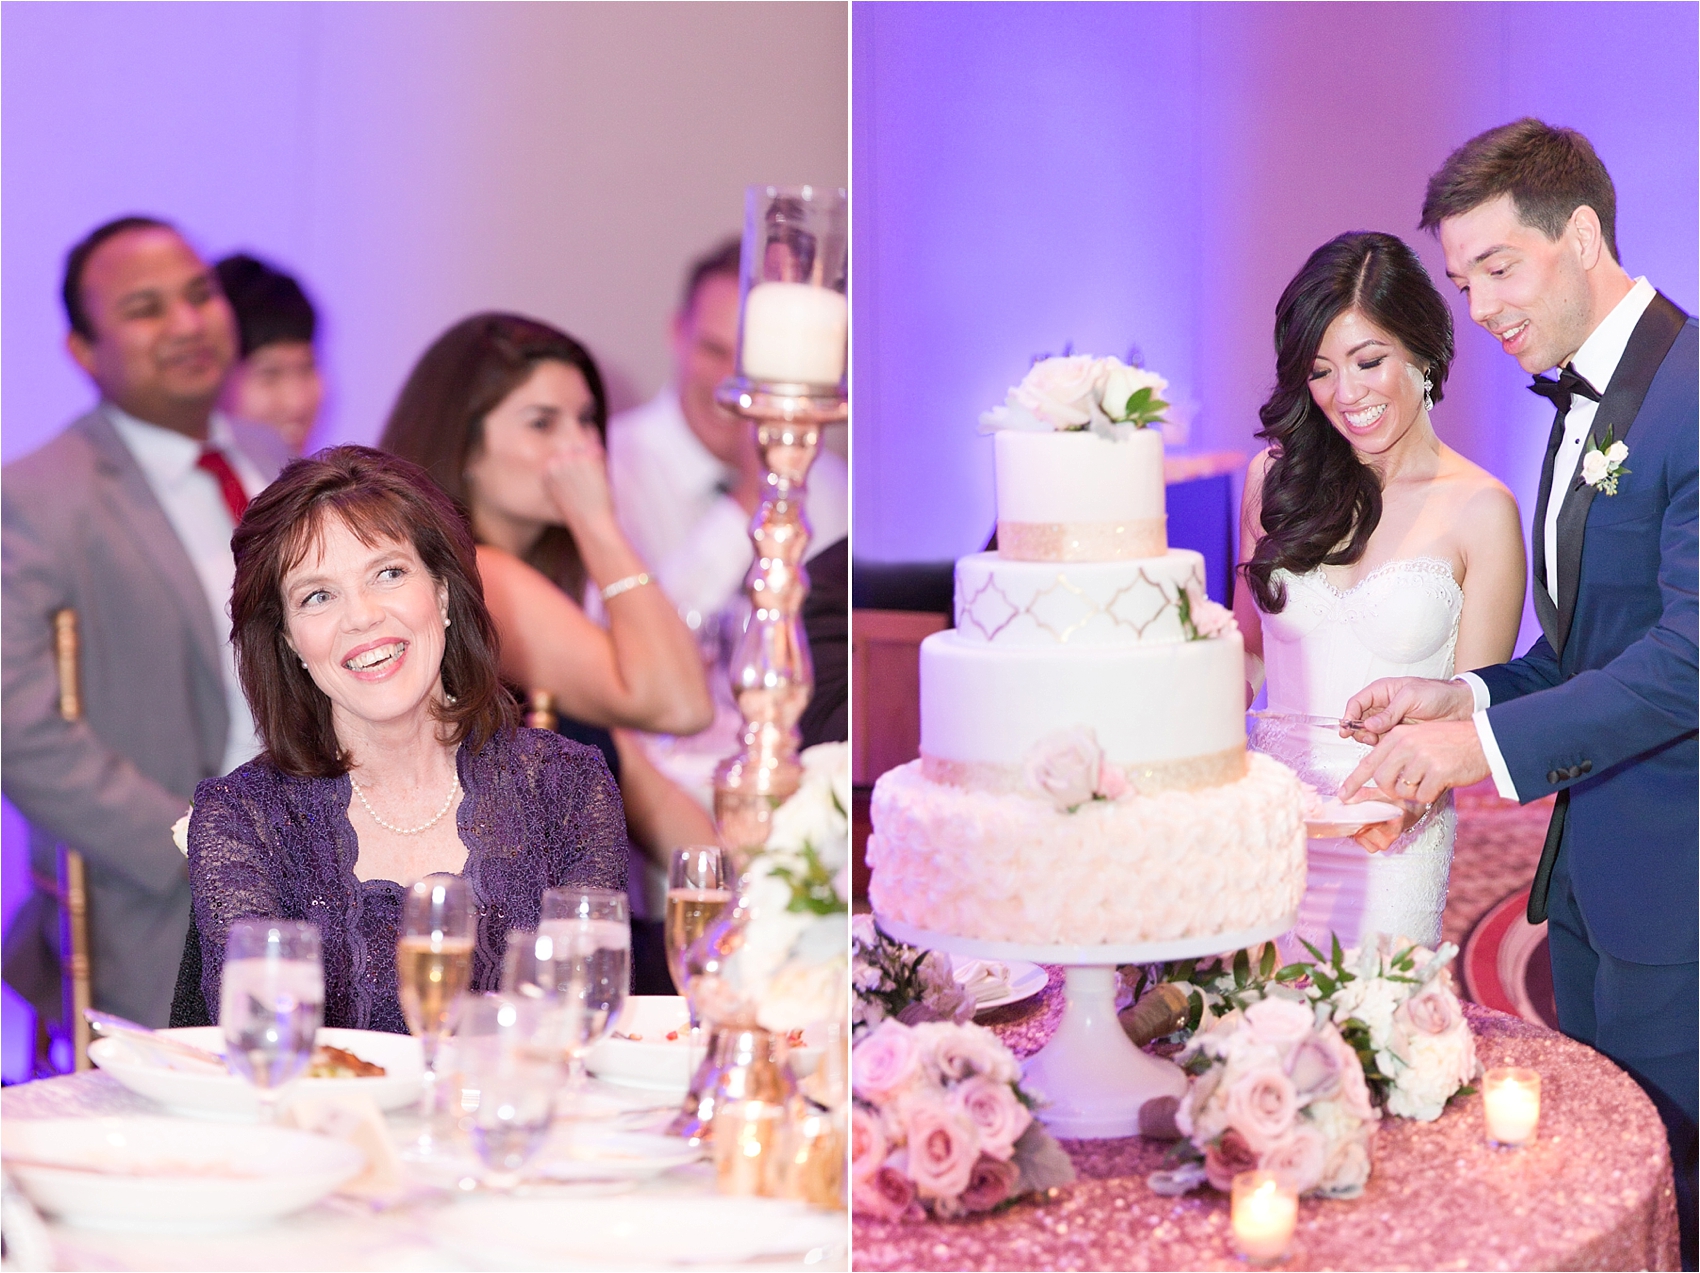
Uplighting is the additional lighting that’s brought in to the reception (typically by a band or DJ) to illuminate the walls and give them color, dimension, and texture, so they’re not black holes where light goes to die. Brides love uplighting because it’s prettier than black and continues the color story of their wedding.
If, for example, their colors are blush and navy, like at this weekend’s wedding, pink or purple is a beautiful accent to compliment their choice, rather than orange, a more standard uplighting color. Uplighting is usually only a few hundred dollars more as an add-on with a bride’s band or DJ package, and, as far as photos are concerned, as least in our opinion, it’s one of the best values because it adds an extra pop to all of the reception images.
As a photographer, when you find yourself in a room with uplighting, especially if it’s a flattering color that your client is excited about and you know you want to include as much of as possible in your reception photos, here are three quick tips to help you get the maximize every frame:
1. Shoot Into the Cleanest, Lightest-Colored Wall
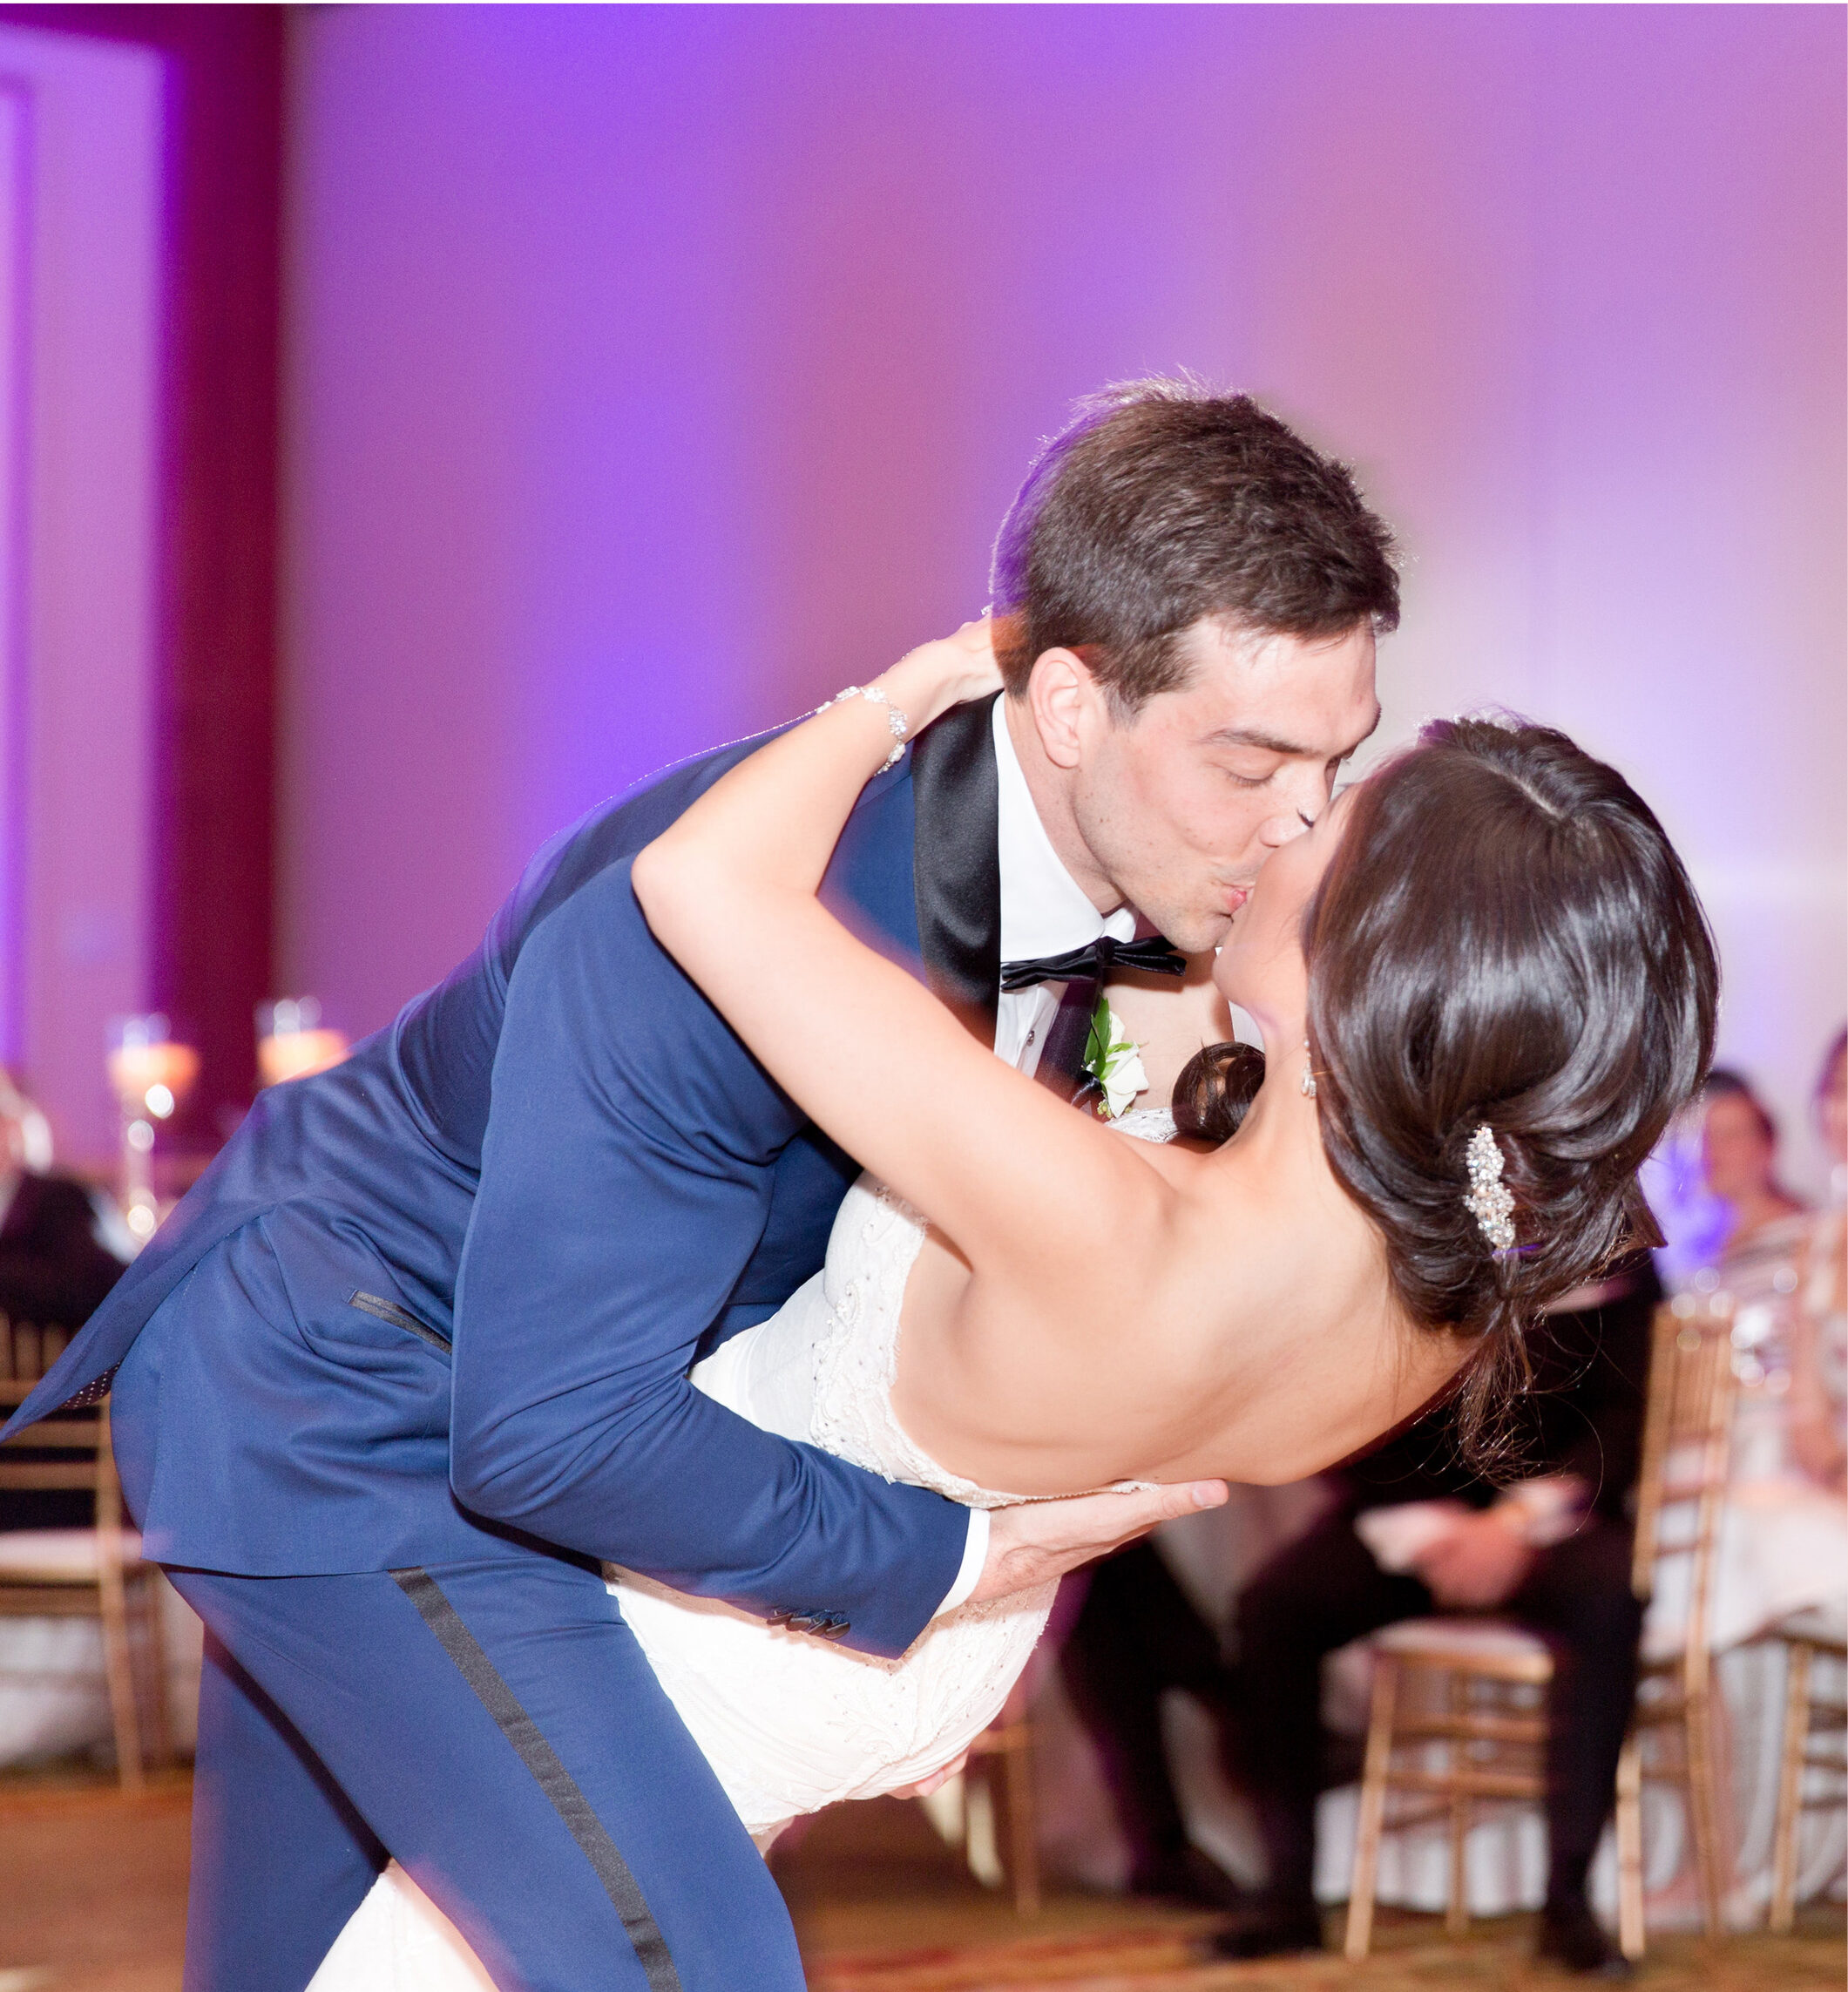
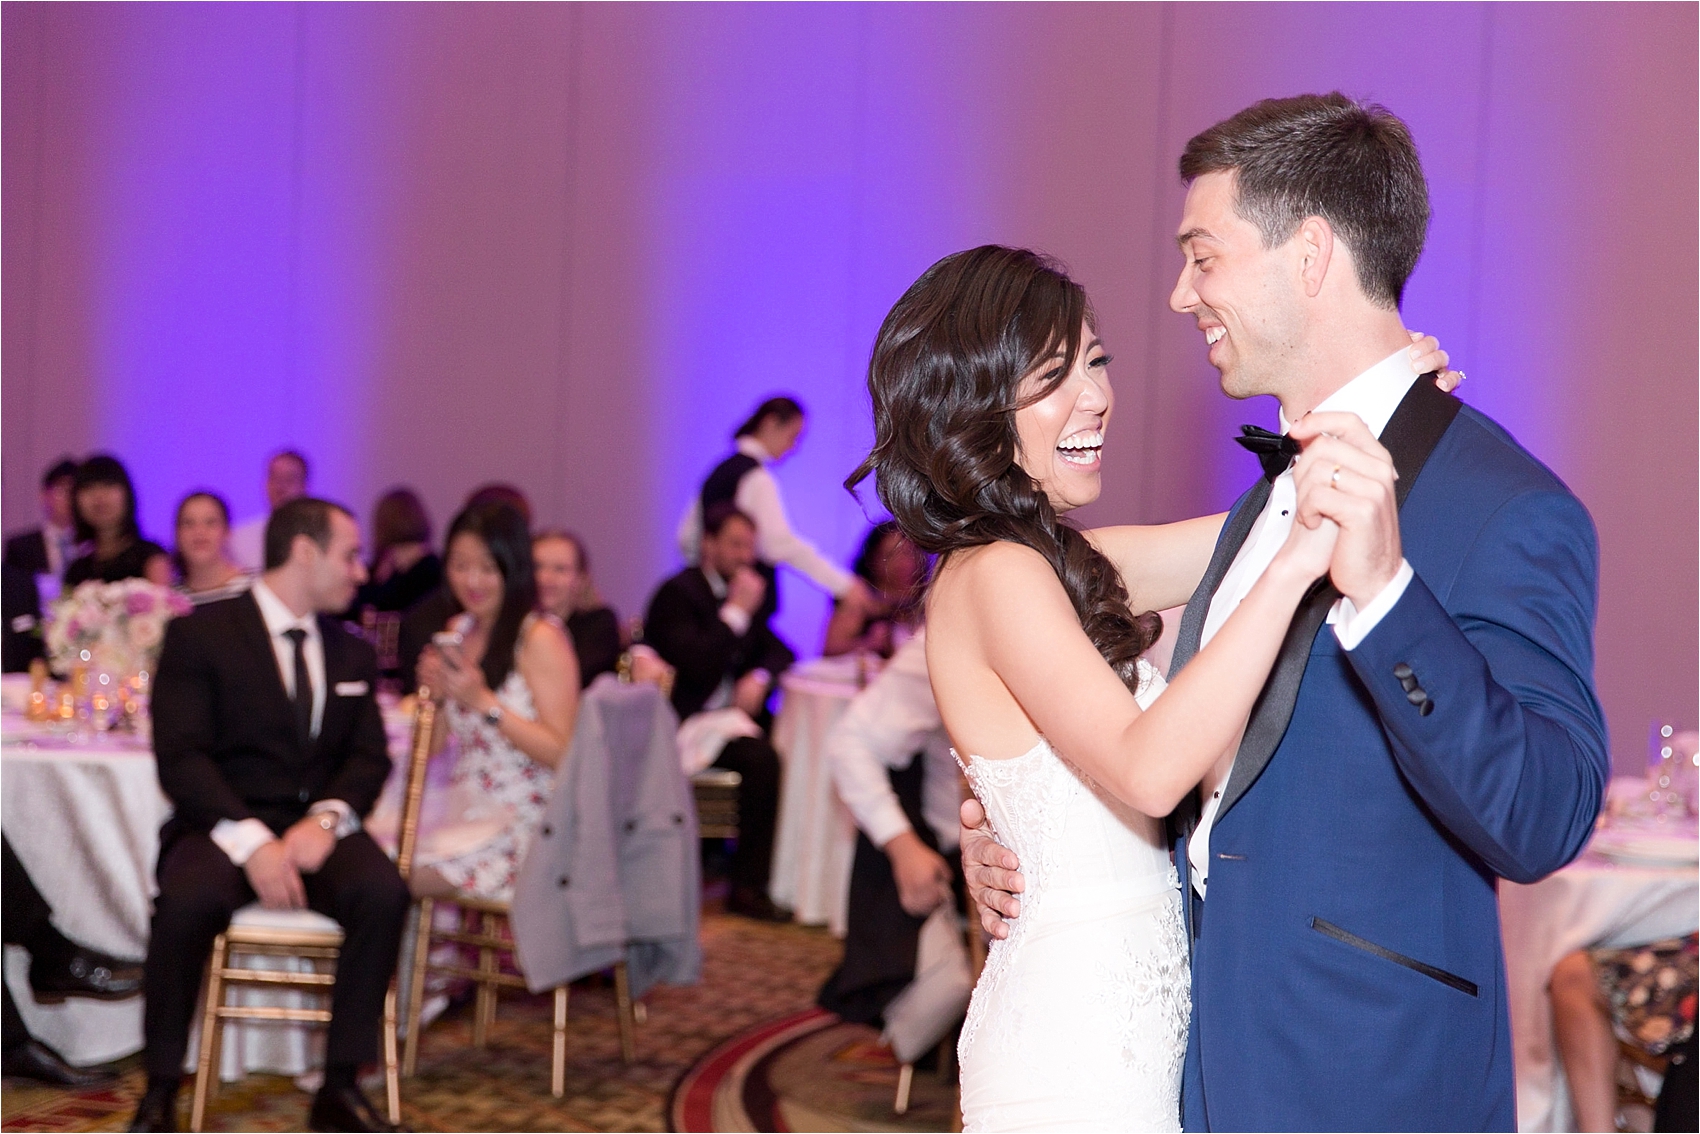
The cleaner and lighter-colored the wall is, the more the colors will pop against it. So, if you have a choice, like we did at this weekend’s wedding, between a shooting into the partition that divided the ballroom in half (which was white) versus the wall with some white elements but a lot of dark wood, too, choose the white wall.
2. Use a Longer Lens
For open dancing, we shoot much wider, between 24mm and 50mm, because we’re trying to get shots right in the middle of the action; so, we have to be right in the middle of the action. However, when it’s time for first dances, if we can, we’ll back up and shoot with a longer focal length of maybe 70mm (or more). The longer lens gives the appearance that the background is much closer and much larger than it really is compared to where our subject is dancing.
3. Shoot from Waist Height Instead of Eye Level
In Arizona, at least, most ballrooms have dark multi-colored carpet and/or wooden dance floors, neither of which are ever consistent with our brides’ color stories as the uplighting on the walls. So, our job as photographers is twofold: shoot in a way that de-emphasizes the floor and emphasizes the uplighting on the walls by squatting just enough during first dances so that our camera is at waist height and we’re shooting slightly “up” at our clients. This showcases more of the color the couple chose and less of the swirly turquoise Gila monsters that adorn our freeways and ballroom floors alike.

Did this post help you? We have A LOT more where that came from! Join thousands of photographers in our exclusive email community and get a FREE one-year membership to The Monday Minute, our photography and business tips and tricks that aren’t published on the blog but are delivered straight to your inbox every single week!
Hope this was helpful! You can also check out more posts about how to shoot weddings here:
3 Tips for Shooting Your First Wedding • 5 Steps to Nailing Ring Shots • 1 Quick Fix to • Get Great Getting Ready Shots • 3 Steps to Photographing the Groom Portraits • How to Master Focus During Group Portraits • How to Photograph a Big Bridal Party • 3 Quick Tips for Shooting Ceremonies in Harsh Light • How to Get Killer Ceremony Detail Photos • How to Manage Rain on a Wedding Day • How to Photograph Wedding Reception Uplighting • 3 Tips for Better Toast Shots • How to Get Sharp Focus During Dark Receptions


")
")

