We’re continuing our series on business essentials, and today we’re sharing our two-step process for how we organize receipts! And wait, we know what you’re thinking. Receipts? B-O-R-I-N-G!
Haha! We agree! Organization and systems is just one of those boring, not-so-glamorous parts of being a business owner, but do you know when it won’t feel so dull? When we get that call from the IRS!
As we mentioned last week, we’re rule-followers to the max, and keeping track of business receipts has definitely got to be close to the top of the “Business Rules to Follow” list, and in our house, when there’s a rule, there’s a system!
We categorize and deal with receipts in two ways: online or paper.
Online Receipts
When we get a receipt emailed to us, we open it, pull up the print screen, save the file as a PDF, and file it in a folder on our computer (that’s linked to our Dropbox account) called “Expenses.” We called it “Receipts” years ago, but realized that didn’t quite cover everything in that folder. Ultimately, what you call it doesn’t matter as long as you know where to find it!
Now, you might be thinking, “I use Gmail!” My emails are never deleted unless I manually go into my account and intentionally do that, which most people never will, because there’s really no reason to! So I prefer just to leave all of my online receipts in the Gmail “All Mail” folder forever. and search for them in case of an audit.” And that’s okay, too!
We just prefer to organize them as we go, so that if the IRS ever knocked on our door, we could show them a folder with all of our online receipts dated and described. Those two things are like bug repellent for an auditor! Plus, we just don’t like the idea of relying on Gmail or GoDaddy or anyone else to keep our receipts safe. We believe that as business owners, it’s our responsibility, and even though the chances of those emails getting lost or deleted is microscopic, it’s just not worth the risk to us.
We label all of our receipts by year, month, and date first. Why? Because that way, all of our receipts get organized in chronological order automatically. So, for example, if we made a purchase on August 12, 2015, we’d start the title of the PDF receipt as “2015-08-12.” Once we’ve written that, we type in all lowercase letters a description of the transaction — because, remember, we’re trying to save time and this is only for our own records and on the slight chance of an IRS audit. The description is less critical for an online receipt, too, since the receipt likely has a picture and description already on it, but we might write something like this if we purchased a new computer from Apple: “2015-08-12 apple new macbook pro for editing” As you can see, in our description, we used the formula “who + what + why.” Who? Apple. What? New MacBook Pro. Why? For editing. Here’s an example of what our receipts folder looks like on our computer so you can see how they’d get organized automatically and make things REALLY easy to find when we’re scrolling or searching, so it has a few benefits!
2015-08-12 apple new macbook pro for editing
2015-08-14 b and h new 70-200 lens for ceremonies
Paper Receipts
This one’s even more important than online receipts, we think, because there’s only one record of it, and you’ve got it! These are almost always coffee shop or restaurant receipts because we’ve been at a client meeting or joined a wedding planner for lunch. And here’s the problem we found: the IRS requires us to write down who was at the lunch and what business was discussed/what the business purpose was. It’s not enough just to have the receipt. For a while, we wrote that information on the receipt as we were leaving, but sometimes we forgot, were in a rush, didn’t have a pen, or whatever! So, we didn’t. Then, it’d get to be the end of the month, we had loads of receipts, wrinkled in Amy’s purse and Jordan’s wallet, and going back to write all that down was boring and a little discouraging, because it took so much time! Plus, we just forget things that happened almost a month ago! Can we get an amen? Also, our whole world is paperless, so having a paperless solution for paper receipts just made sense. Last week, we shared the same problem we had with mileage and how we solved it. So, here’s what we did for paper receipts…
We researched the top major apps for capturing receipts — so you don’t have to! — looking for something that would let us do a few things. One, we had to be able to take pictures of our receipts and write descriptions about the transactions. According to our bookkeeper and accountant, you don’t actually have to write who was at the meeting and what was discussed/the business purpose on the receipt, you just have to write it somewhere. Two, we needed to be able to mark receipts as business or personal, not because we keep track of all of our personal receipts (we don’t), but because sometimes we use our personal card for business on accident or pay for a business expense with personal cash. We have to be able to keep those receipts with our business receipts so our business can reimburse us for it at the end of the month.
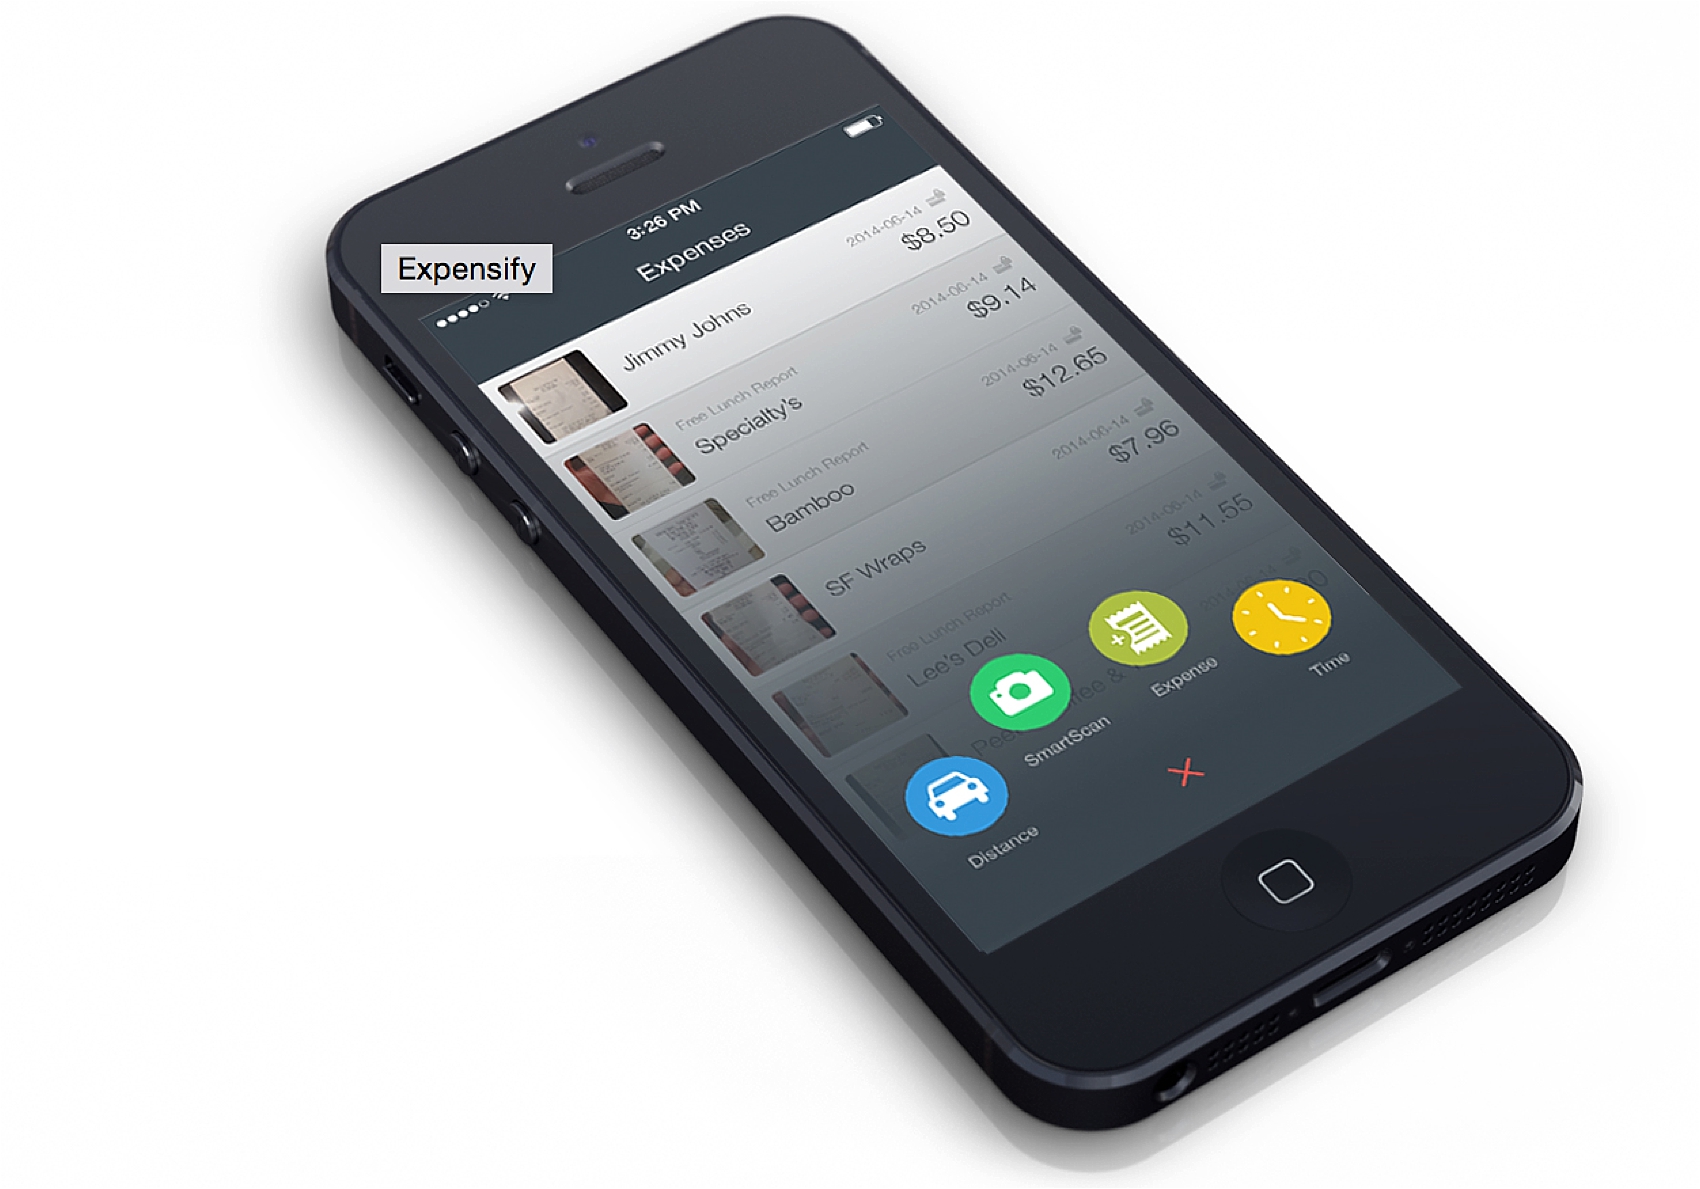
For those reasons, we settled on Expensify and love it! Also, as a disclaimer, we do not use it for anything else except for receipts. It’s really designed for employees to send expense reports back to their companies (like traveling salesman, etc.) and some use it for accounting, but we just recommend it for receipts since that’s how we use it.
Here’s a step-by-step guide to how we use it:
1. Create an Expense Report
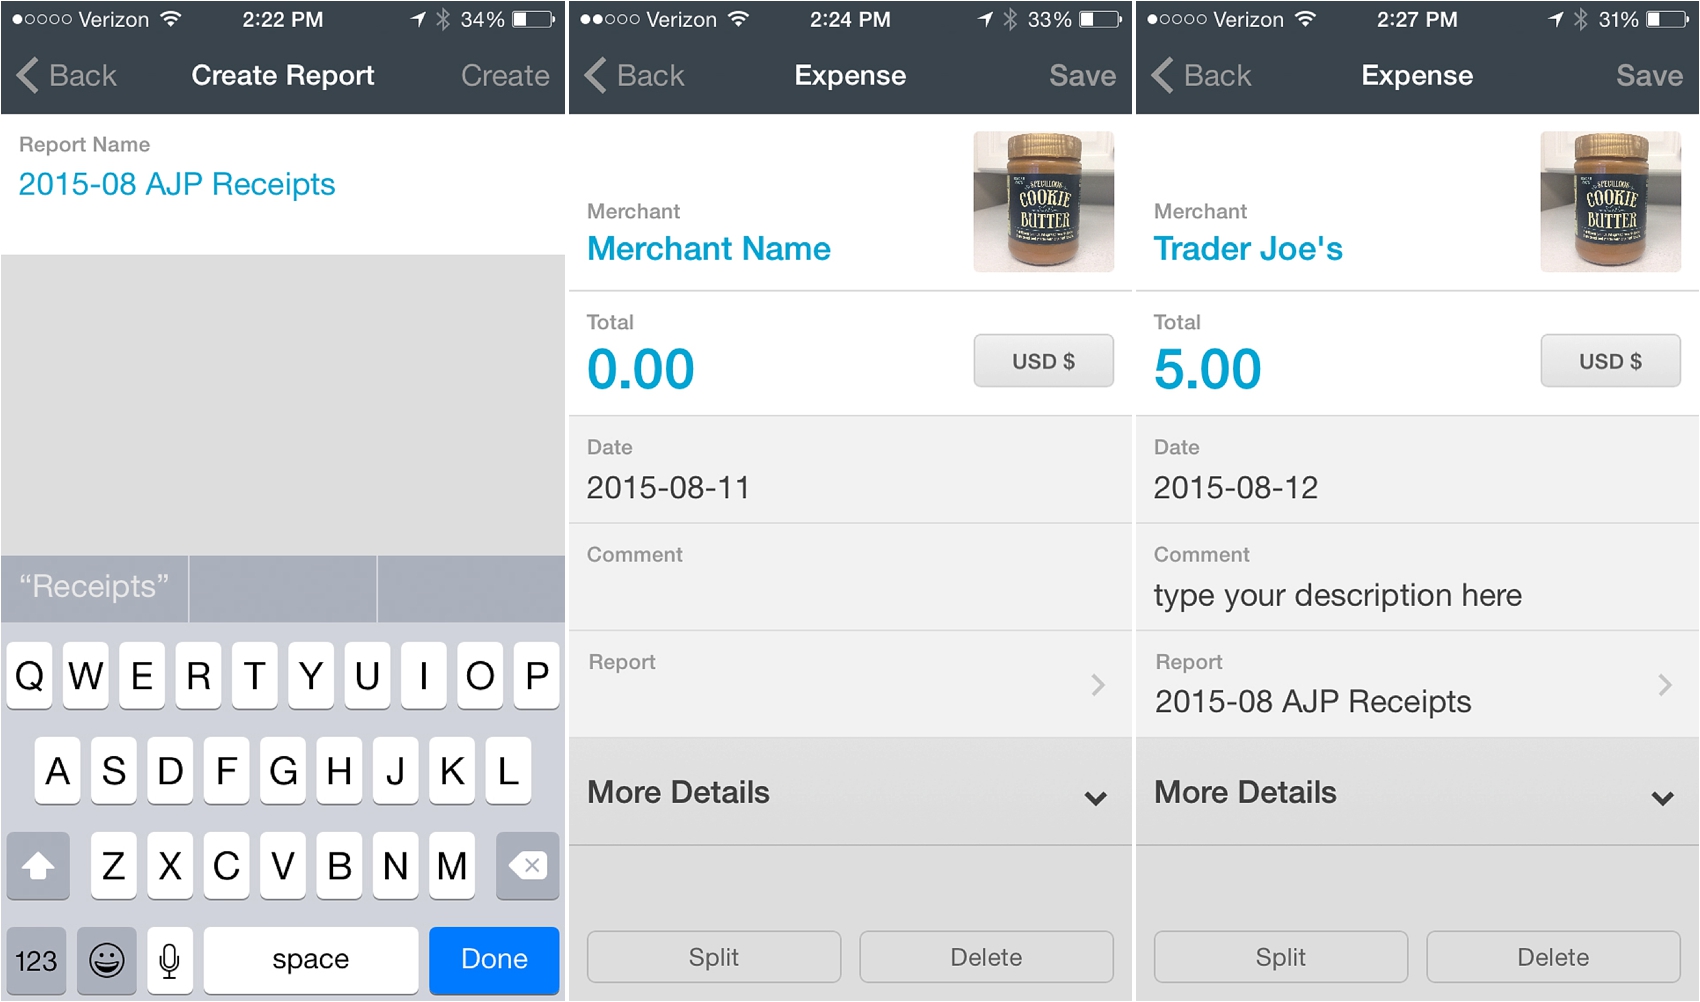
When you open the app, you’ll see four icons at the bottom, click “Reports” on the left and click the plus sign in the upper right corner to create a new report. The expense report you create every month will put all of your receipts in one place for you, so you want to do this at the start of each month! We call our reports “2015-08 AJP Receipts.” So, if your business is Amy Taylor Photography, you could call your August report “2015-08 ATP Receipts.” Once you’ve created your report, you’re ready to start adding receipts!
2. Add Receipts to Your Report
*Click “Settings” in the bottom right corner of the app before you do this and uncheck SmartScan. We don’t use it.
At the bottom of the app, you’ll see a green circle with a plus sign in the middle. When you click it, four options will pop up and you’ll want to choose “Receipt” on the left, which will activate the camera. Take a picture of your receipt. When you do a list of all of your receipts will pop up. Click the picture you just took and you’ll be able to add the receipt information: merchant, total, date, comment, report, category, and reimbursable. Let’s talk about the comment, category, and reimbursable since those are the most important.
For comments, just make sure to give a quick but detailed description about the receipt. For example, if you took us out to ice cream and bought us a triple scoop vanilla with cookie butter on top in a fresh, hot waffle cone as part of your coaching session, you might write this: ice cream with amy and jordan for a business coaching session on how to shoot better in camera… and eat ice cream like a pro. Just kidding! But the first part is right, because it explains who was there and what the business purpose was. If you do that, you’ve covered!
Do Online Once: Categories & Reimbursable
There are a few things you’ll want to configure at the beginning so you don’t have to always change them with every receipt you make: categories and reimbursable. To do that, login to your Expensify account online, click the small blue box in the upper right corner, select personal settings and then categories on the left side bar. From there, delete all the pre-filled categories (if there are any) and add two of your own, business and personal. Then, click “Expense Rules” on the left side and do the following:
1. When merchant contains…
Just put a period in the box. That’ll make your rules apply to all of your transactions!
2. Category = Business
3. Reimbursability = Non-reimbursable
4. Billable = Non-billable
Then when you go back to fill out your information, you won’t have to change those except in one rare case that we’ll explain below. Once you do all that, just click “Save” in the upper right corner, and you’re good to go!
Now, at the end of the month, you can send yourself a report that’ll have ALL of your paper business receipts in one place. You just have to send yourself a report! Do that by clicking “Reports” on the bottom left of your app’s main screen, choosing the report you want (like August), click “Next” in the upper right corner, slide “Attach PDF” to the right, and it’ll send it right to your inbox! Boom! Smack! Pow! You’re done.
If you use your personal card or cash for business on accident, it’s NO problem with Expensify, which is one of the reasons we love it! Just take a picture of the receipt, do everything above, except mark it as “Personal” instead of “Business” in your category and mark it as “Reimbursable” in the “More Details” section. That way, at the end of the month, on your report, it’ll actually TELL YOU how much you spent for your business out of your personal money and how much your business needs to write you a check for. It’s only a few times a month that this happens, but it does, and it’s nice to have a record of it so we can just do everything at once at the end of the month!
And that’s it! We hope this helps all of our fellow business owners make life a little easier!
p.s. Want the rest of the lessons in this series? They’re right here!
Intro to Business Basics
01 How to Track Mileage
02 How to Organize Receipts


