
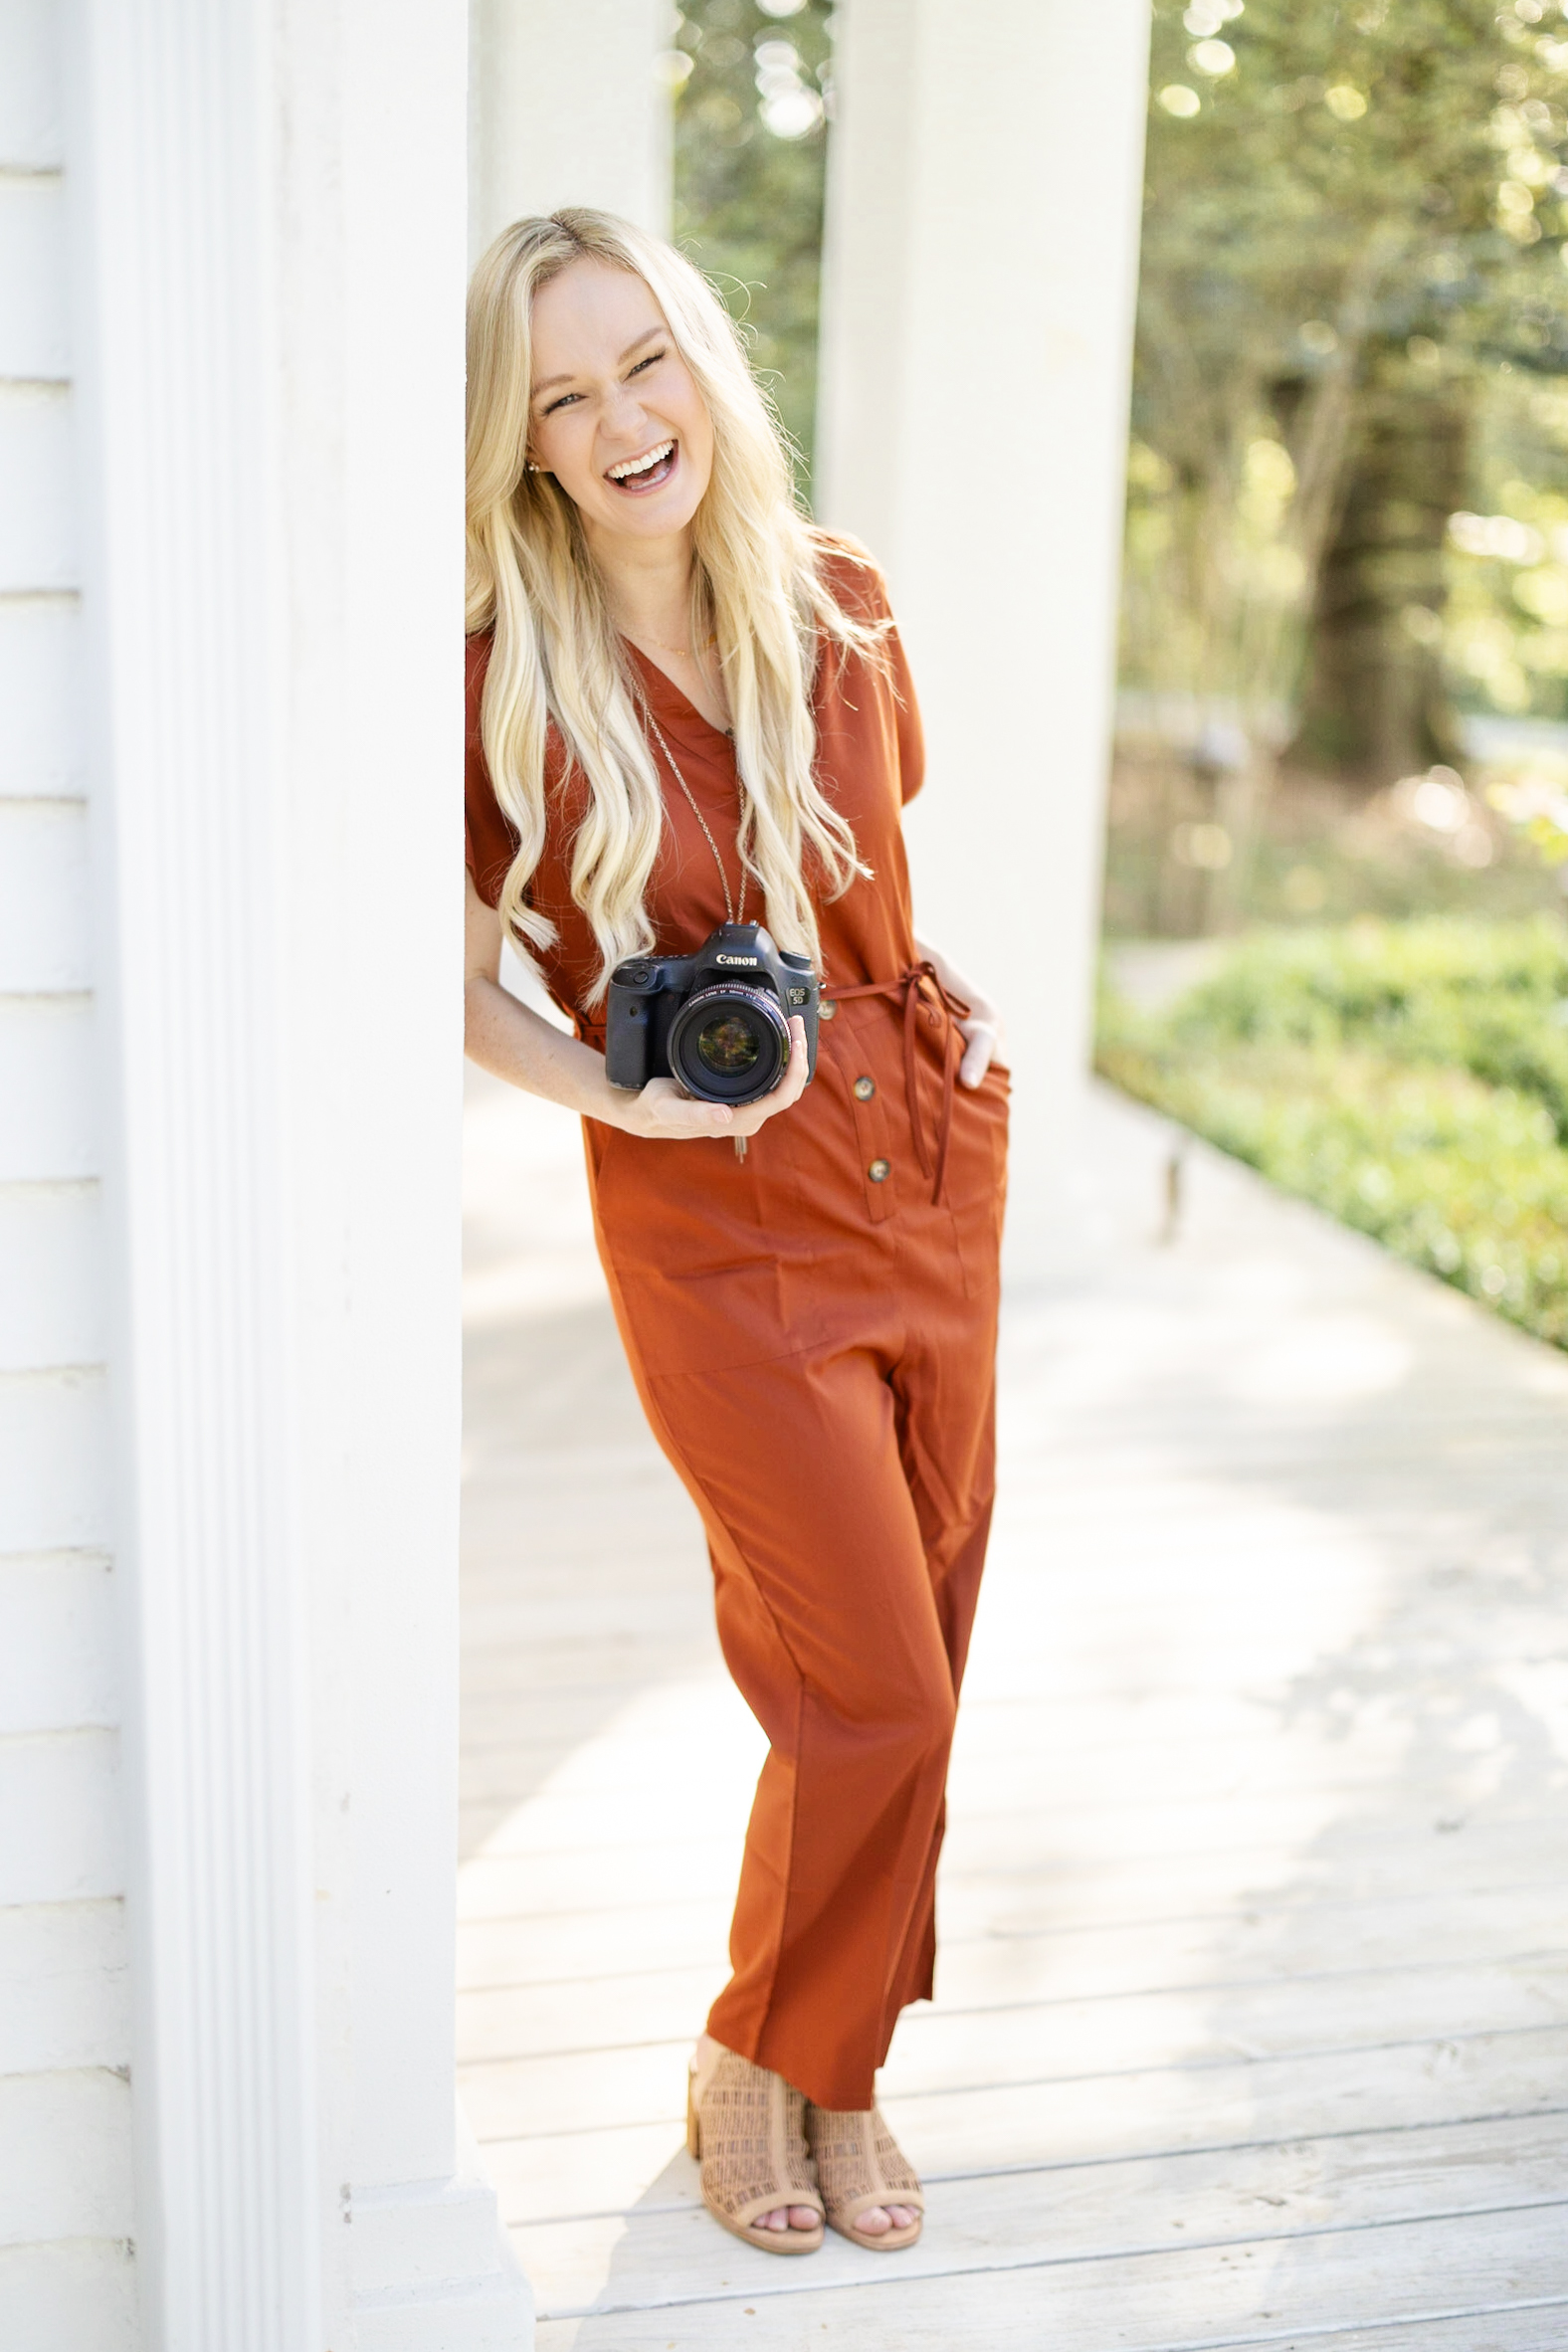


If you’ve ever wondered what our favorite lens is to create our signature light, bright, airy photos, this one is for you!
When we first got started in photography, we thought the way to achieve a specific photography “style” was with editing.
Like, if we just apply the same filter, preset or “effect” to every photo, that would give us a great photo style, right?
Not quite!
We didn’t realize that having a consistent photo style was as much (if not more!) about the choices we made on location while we were shooting and not just when we were editing.
If we had to pick only ONE lens to shoot an entire session and create the light, bright, airy photos we’re known for, we would choose the 50mm 1.2
(Note: If the 50mm 1.2 isn’t in your budget right now, you’re not alone! The is significantly more affordable (like, almost two thousand dollars less!) and will give you a great bang for your buck!)
So, why do we love the 50mm so much?
It’s a beautiful, reliable prime lens that:
1. Makes people look the most “true to life”
2. Helps us make backgrounds look lighter
3. Enhances our client experience
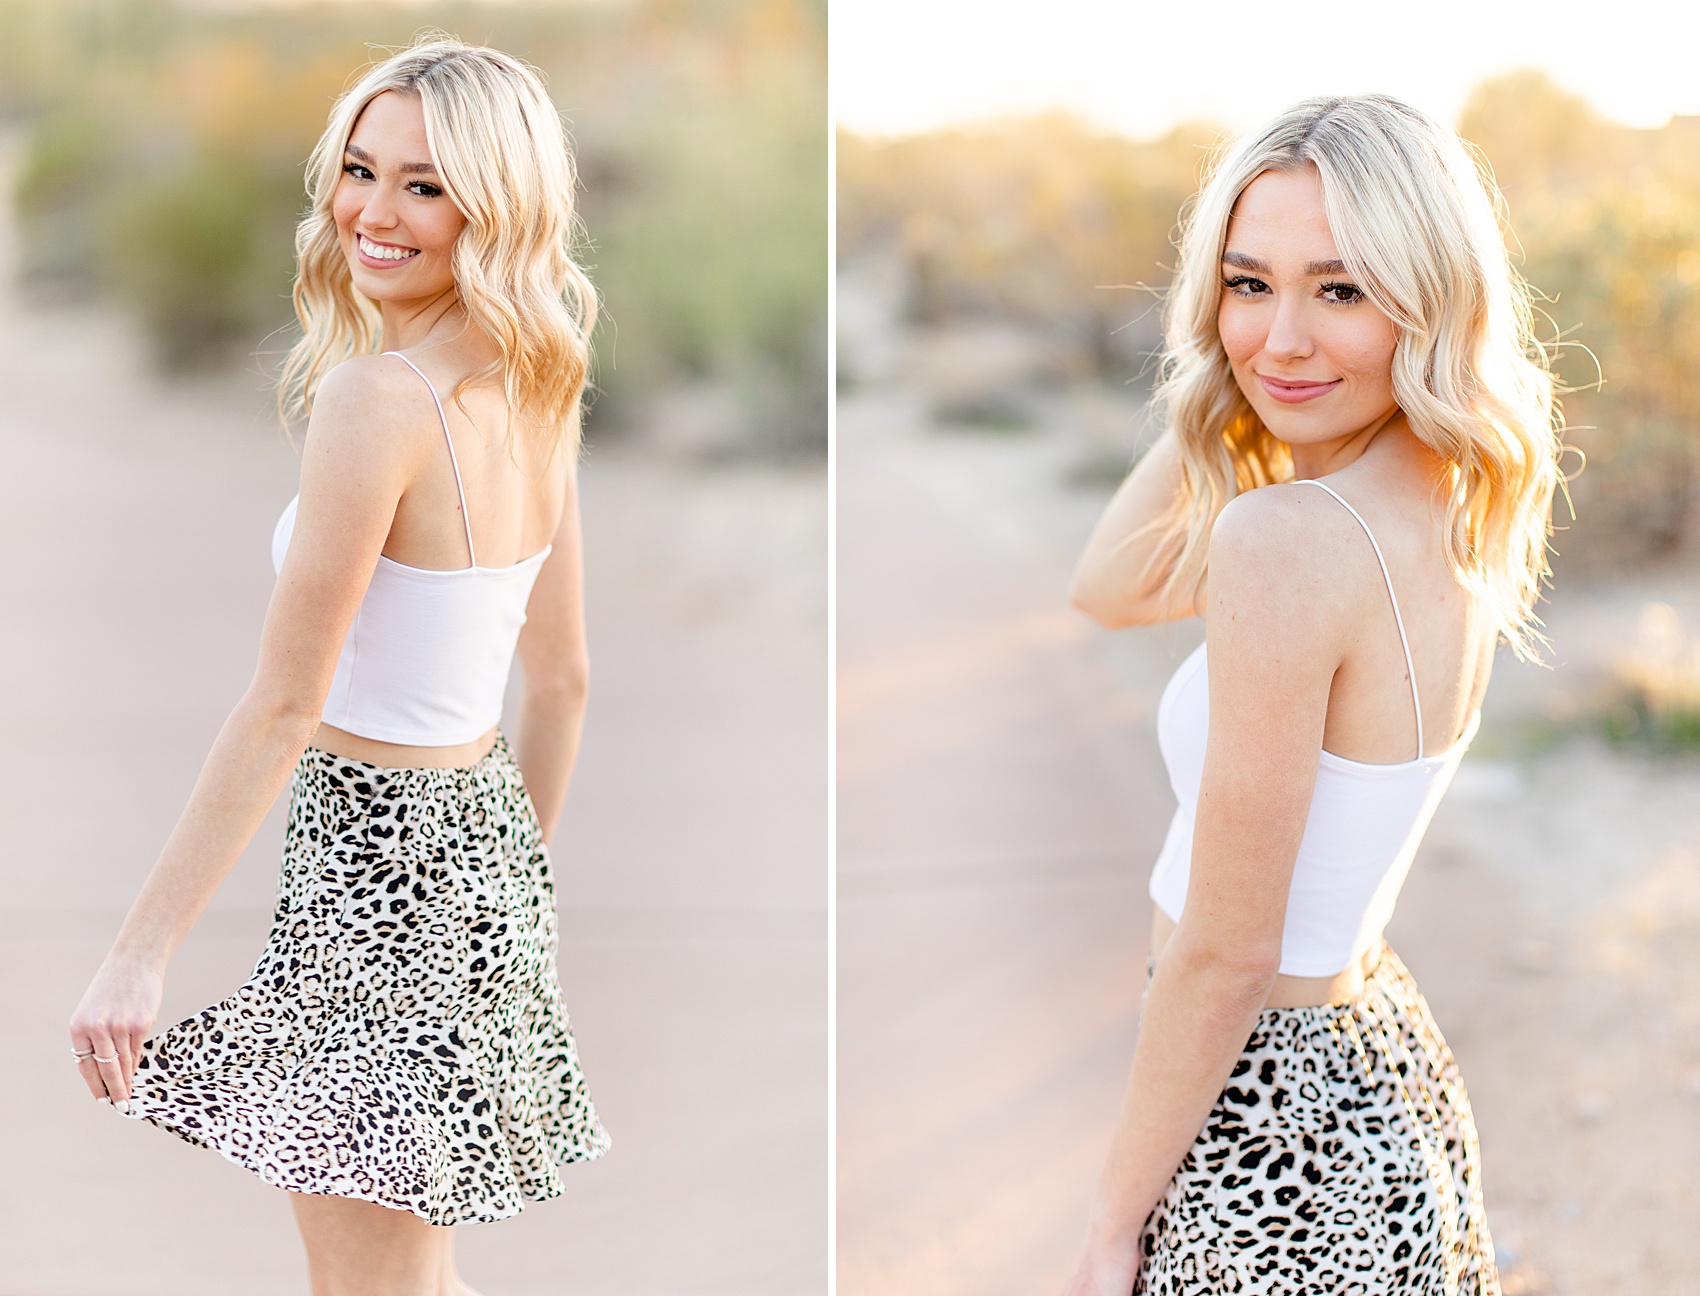
The 50mm isn’t too wide (which can cause distortion) but it still allows us to get enough sky in our frame (even in our tight, close-up shots) which makes the whole photo feel lighter and airier.
With longer lenses (like the 85mm and longer) we get gorgeous compression, but if we’re not careful, that can often come with heavier feeling photos. Why? The background gets pulled in and completely fills the frame, which is one thing that can make a photo feel “heavier” instead of airy and light.
See how the first photo (taken with an ) isn’t quite as light feeling because you can’t see the sky, like you can in the second photo (taken with a 50mm)
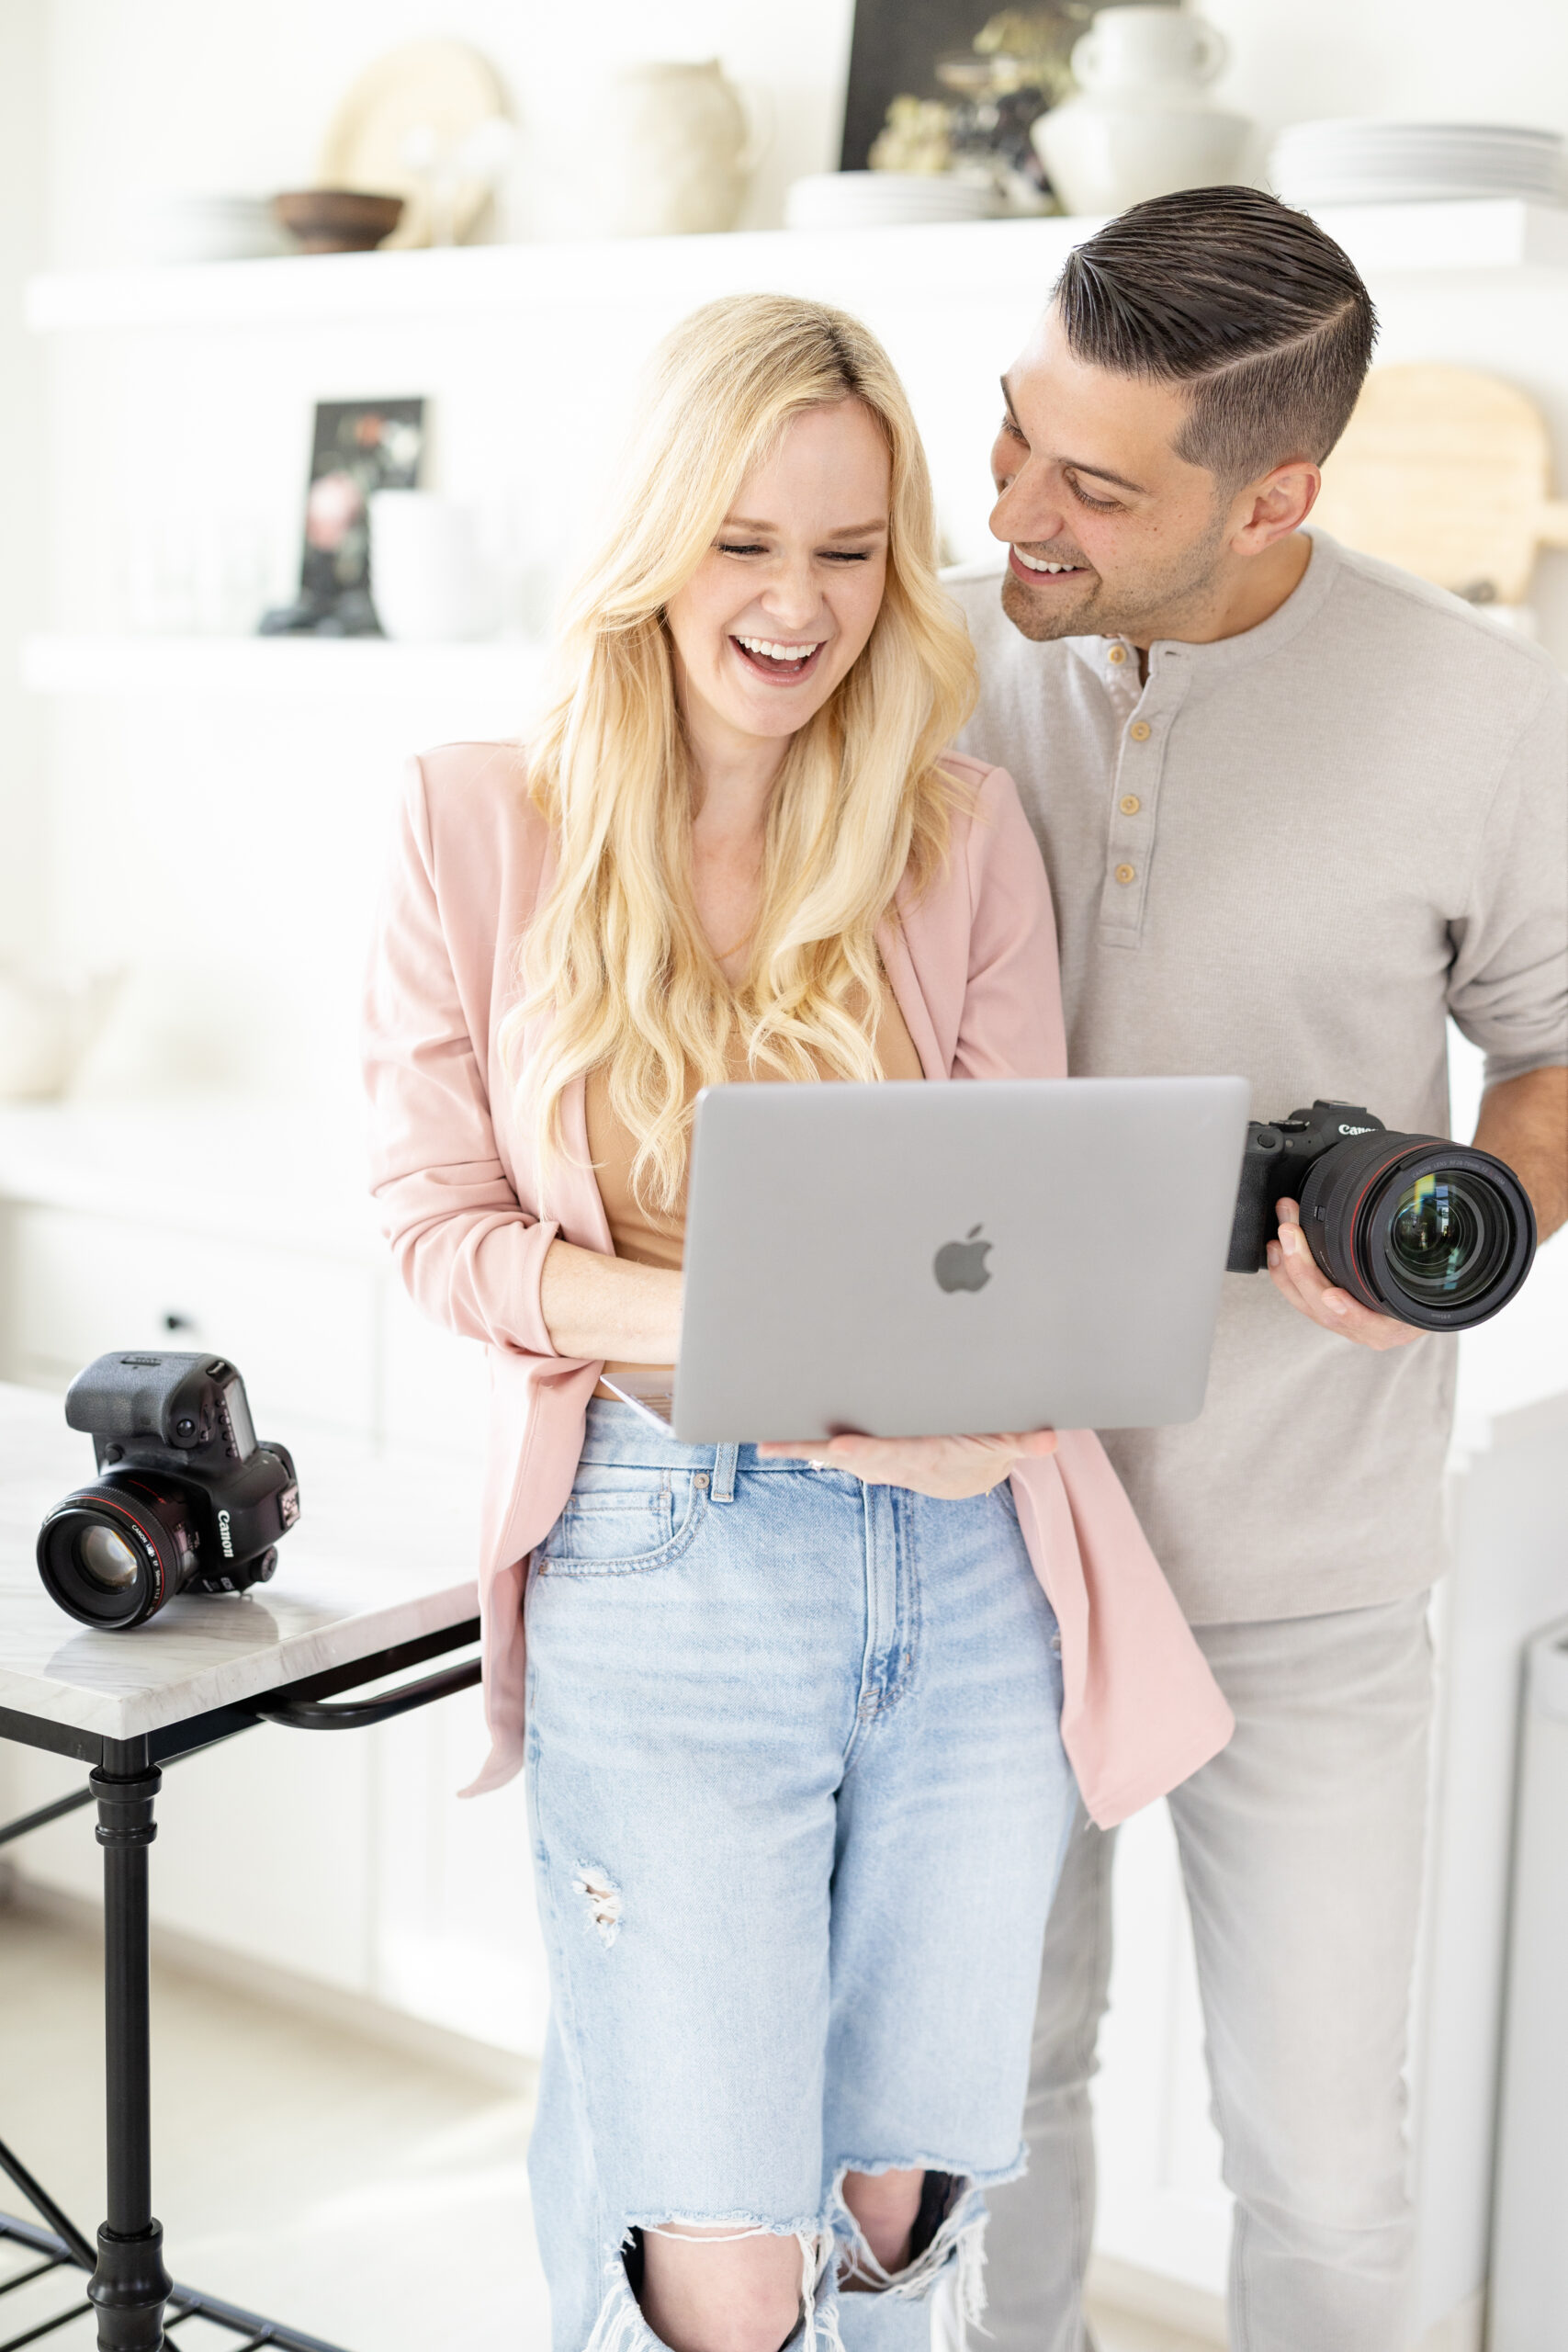
Another major benefit of the 50mm, is it allows us to get physically close to our clients to give them posing instructions in a friendly conversational voice and volume, which is an important part of our client experience. If you’re in our , you already know that *how* you say something is as important (if not more than!) *what* you say when it comes to making your subjects look and feel confident.
Do we still love using longer lenses, like the 85mm during portrait sessions?
YES!
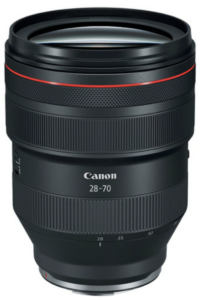
We also LOVE the amazing Canon RF 28-70mm 2.0, which you can shoot at 50mm and get gorgeous photos, as well as have the advantage and convenience of shooting at other focal lengths quickly without changing lenses. It’s pricey (and heavy!) but it’s an INCREDIBLE lens, and a workhorse for us on wedding days!
To sum it all up, if we HAD to choose just one prime lens, the “nifty fifty” is our go-to pick!
We shoot more photos with a 50mm than any other prime lens in our bag during every portrait session we shoot, which is why it’s always at the top of our recommendation list when a photographer asks “Which lens should I get?”
We hope this helps you when it’s time to add a lens to your collection!


")